
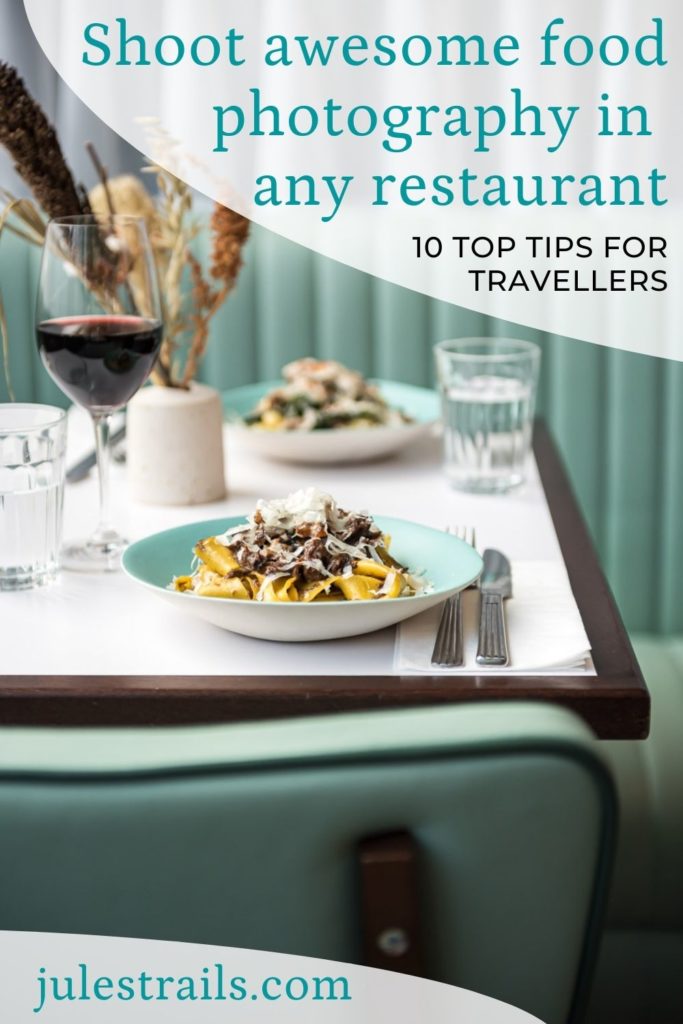
Shoot awesome photos of your food in any restaurant – 10 easy tips for travellers
How to beautifully photograph what you are eating while you’re travelling, anywhere
A huge part of my travels (and everyday life) involves sitting at a table stuffing my face with delicious food.
And I often attract curious gazes from other guests when I stand up in a restaurant to get the perfect angle to photograph my dishes.
Don’t lie, I know you’ve been tempted to do the same!
It’s hard to resist when food is presented so beautifully in front of you!
Are you struggling to capture appetising images of your food in restaurants?
It’s not as easy as some Instagrammers make it look!
Fear not! I’ll give you my top tips on how to shoot in any restaurant and create mouth-watering images that add another dimension to your travel stories.
What are these tips?
1. Go before you (and everyone else) get hungry.
2. Where should you sit? Chase the light!
3. Consider your background.
4. Include the unique style and personality of the restaurants in your composition.
5. Tell the whole story!
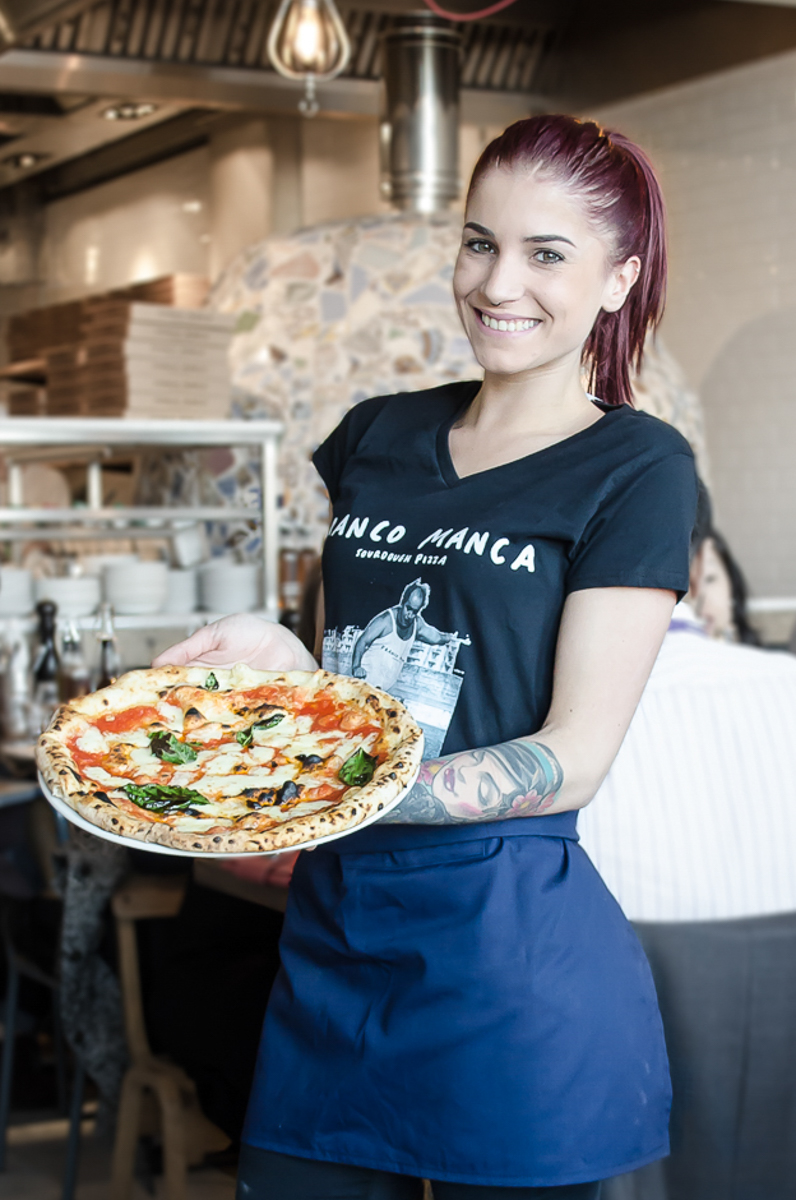
6. Play with your food! Create movement with hands and action.
7. Keep your menu, and ask for a second one.
8. White balance and mixed light – the menu saves the day.
9. Deal with low light – another menu trick.
10. Editing
Conclusion
Practise these tips!
My experience and how it can help you
I am lucky enough to work with The Infatuation, an amazing worldwide restaurant review platform.
They write unbiased and witty reviews and guides of the best food spots in a lot of major cities around the world.
They are awesome, do check them out when you’re planning your next foodie tour!
(This post wasn’t sponsored by them, but they’re one of my favourite clients so I’m just sharing some love.
And also, you’re welcome. I know you’re gonna love them too.)
When I go for assignments, I have to visit restaurants in incognito mode.
Meaning I just turn up to the venue like a regular guest, sit at a table, and order food.
When the food arrives, I pull out my camera and start shooting it.
When I’ve got all my shots, I happily eat all my subjects.
Then I pay my bill and go.
Sounds fun, right? It really is, and every day is also a new challenge!
I don’t know what the light condition will be in the restaurant, if they’ll have a free spot by the window or how much space I’ll have at my table.
I also have to shoot everything quickly, before the food gets cold and starts looking sad!
These are the same challenges all travellers face when they’re out exploring a city and fancy a stop at a restaurant for refuelling.
After years of improvising food shoots on the spot anywhere I am, here are my top tips to overcome these challenges.
Let’s get to them!


1. Go before you (and everyone else) get hungry
Get to your restaurant soon after they’ve opened.
The place will hopefully still be empty so you have first pick on the best table.
When the restaurant is less busy, the staff can be more helpful so you can find out what dishes look best.
And if you ask nicely they might even do hand modelling for you!!
In the kitchen, the chefs aren’t overwhelmed with orders.
They have time to put extra care into plating the dish, giving you a better subject to work with.
Since your aim is to take beautiful photos, going before you get super hungry means you can concentrate on doing that.
It’s hard to focus when your stomach is growling and delicious food is served in front of you!
2. Where should you sit? Chase the light!
Ok, let’s emphasise this: light is the one thing that will make or break your image.
An image with an amazing dish shot with crappy light will look worse than a modest dish shot with beautiful light. Light is everything!
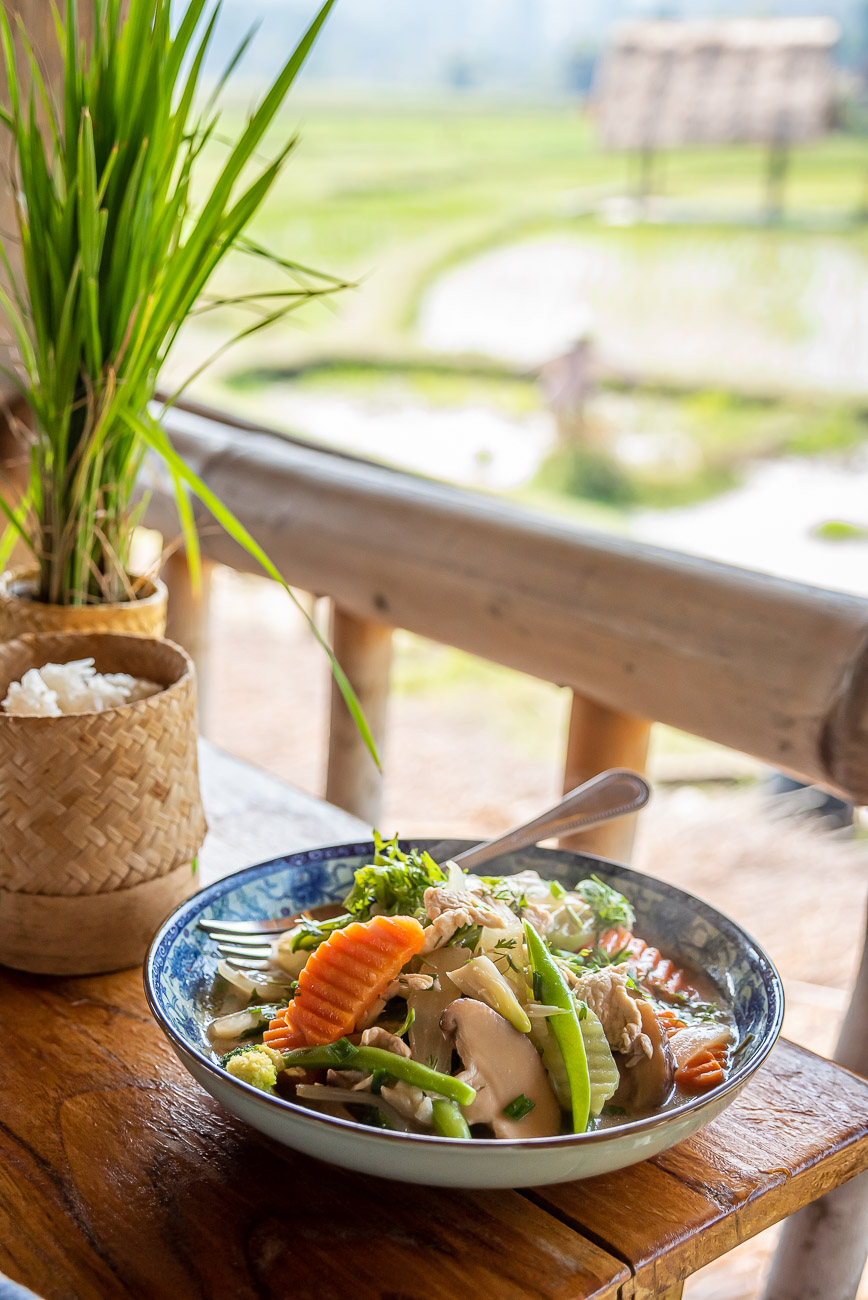
The first thing you need to do when you enter a restaurant is looking around for a table by the window, or outside.
If you can book ahead, reserve a table by the window.
When you sit at the table, you want the light to be on your side or in front of you (behind your subject).
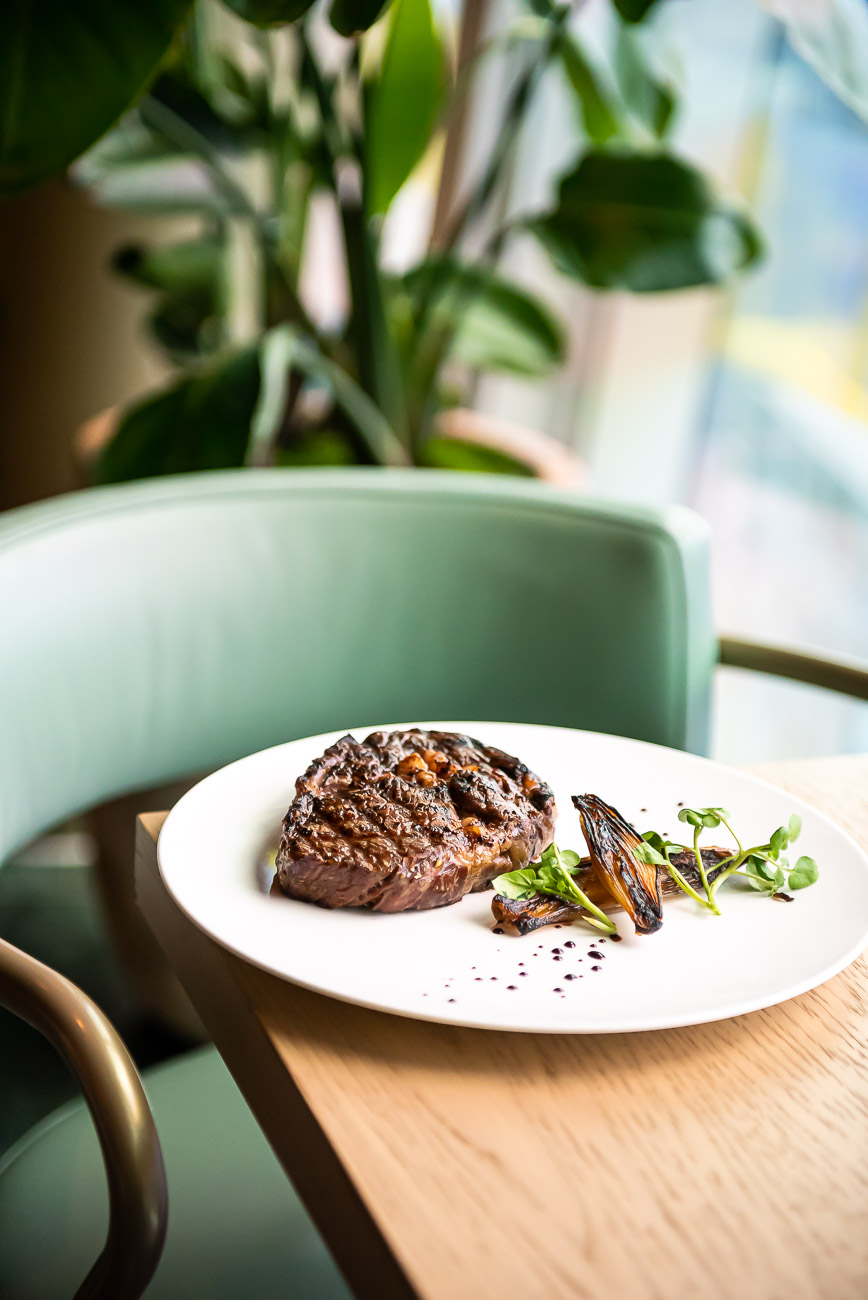
Having the light come from either of these directions works best to emphasise the texture of your food!

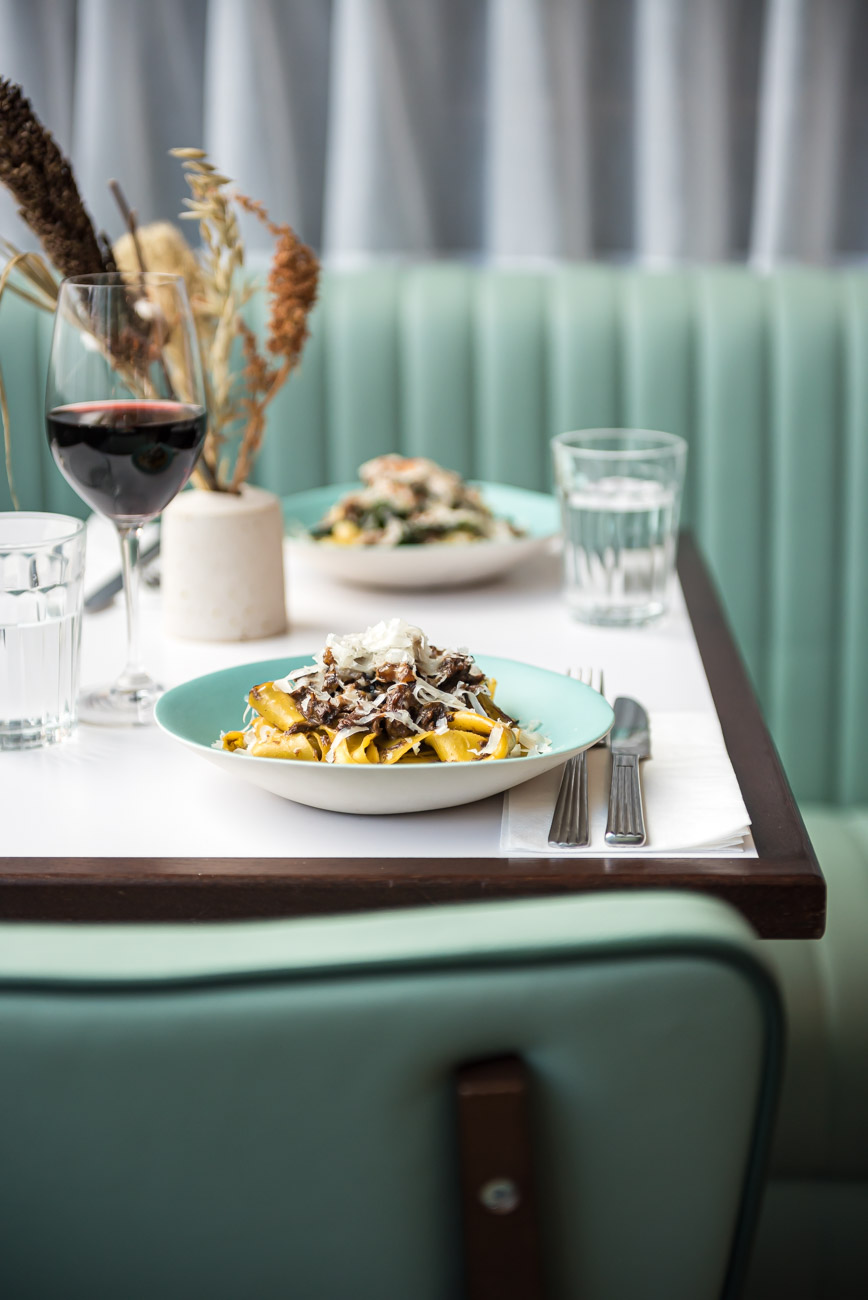
3. Consider your background
Another thing to consider when you choose a table is your background.
Think about how you’re going to frame your subject and have a look at what would be behind it in your composition.
You want to capture the atmosphere of the restaurant but you don’t want something that’s too distracting.
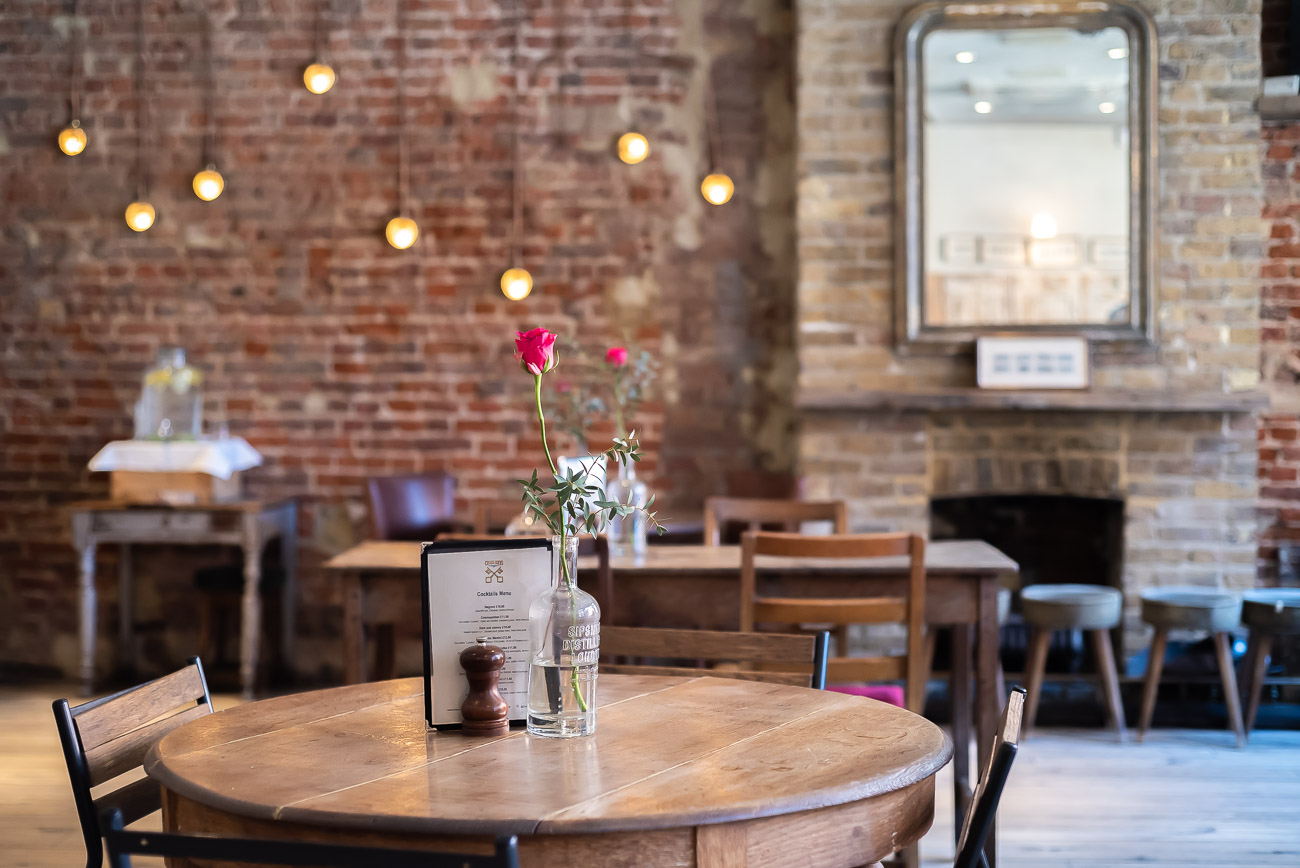
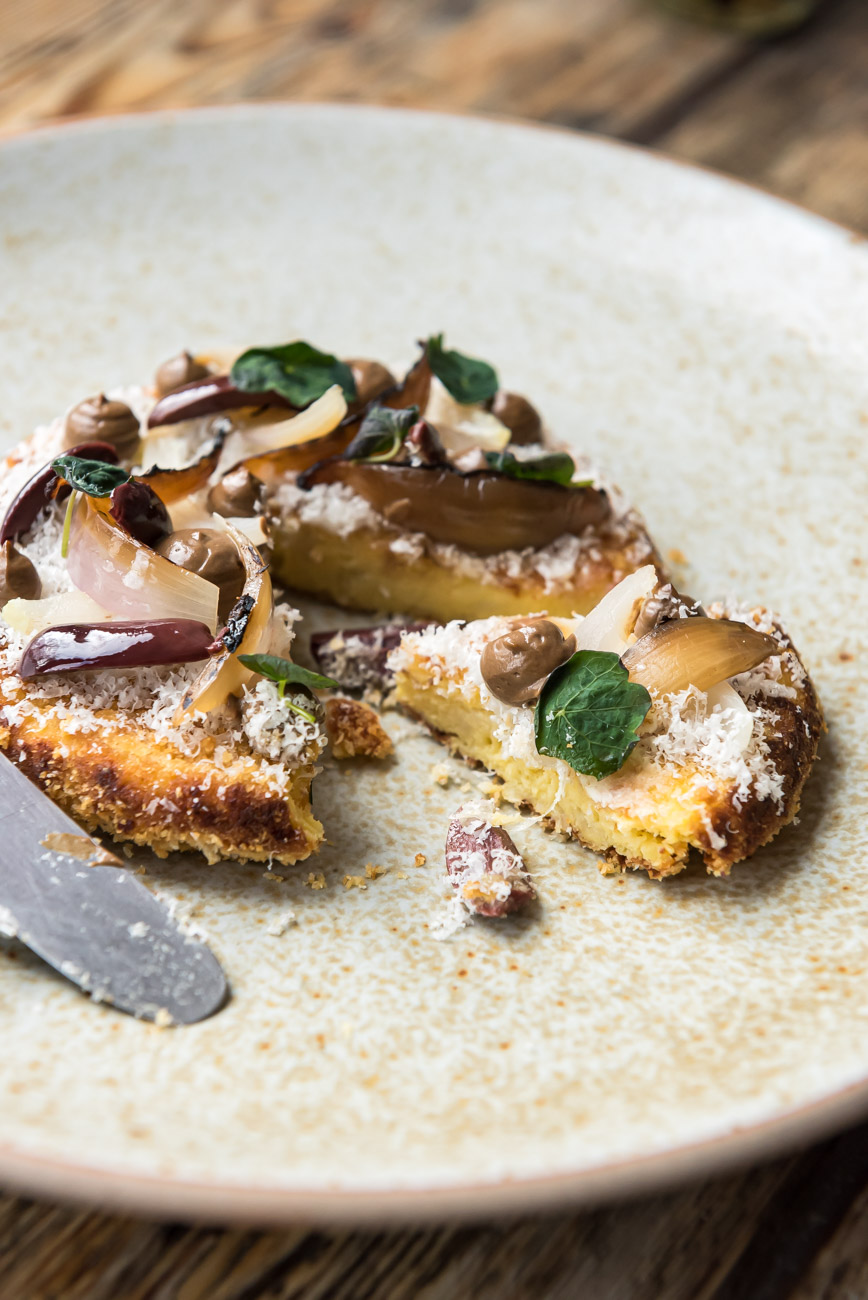
A table in the corner with a wall as a background generally works, especially if the wall in question has a nice texture: brick, concrete, plaster, cushions – these are all great options!
A blurred overview of the restaurant or its surroundings can also work.
Use a wide aperture – anything between f 2.8 to f 5 – to get a softer and less distracting background.
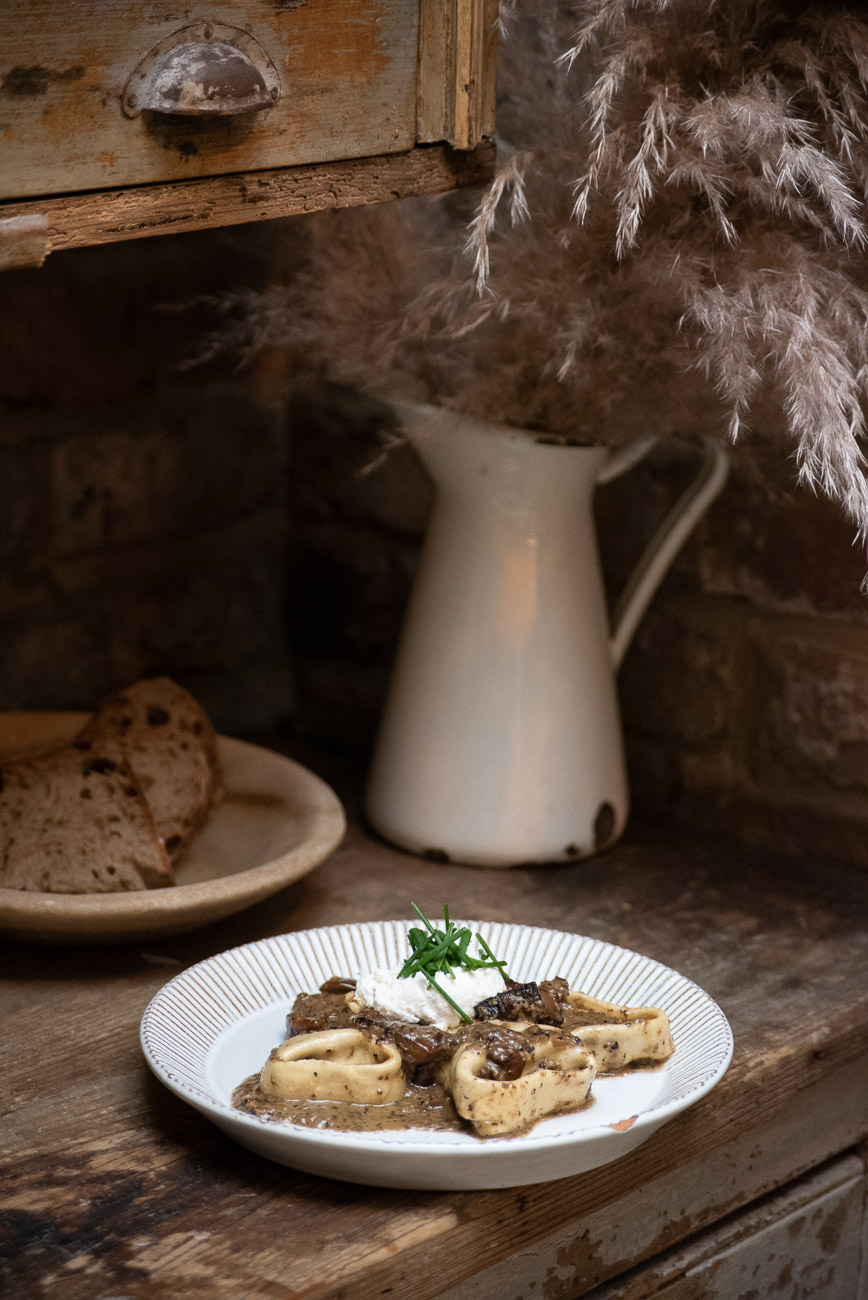
4. Include the unique style and personality of the restaurants in your composition
Start by getting rid of all the clutter on your table: dirty napkins, random cutlery, lipstick-stained glasses.
Then put them back in your frame, but with a purpose!
Fold your napkin nicely next to your plate, arrange your cutlery in diagonals, place the nice ornamental flower vase somewhere in your background alongside the cute salt and pepper shakers.
Include chairs, coloured walls and table corners in your composition to get even more elements of the restaurant’s design in your story.
This will help you convey a sense of place and will do justice to the unique style of the restaurant!
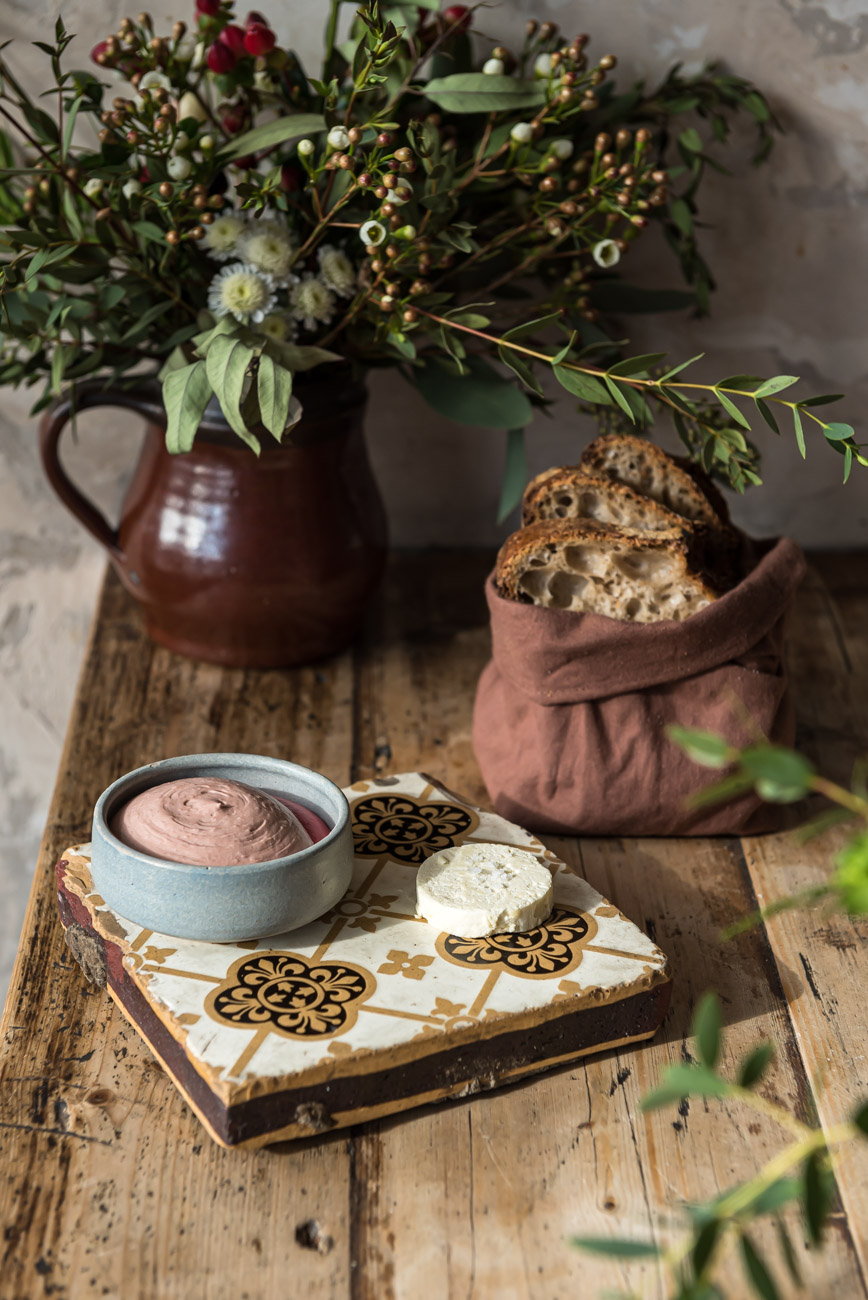
5. Tell the whole story!
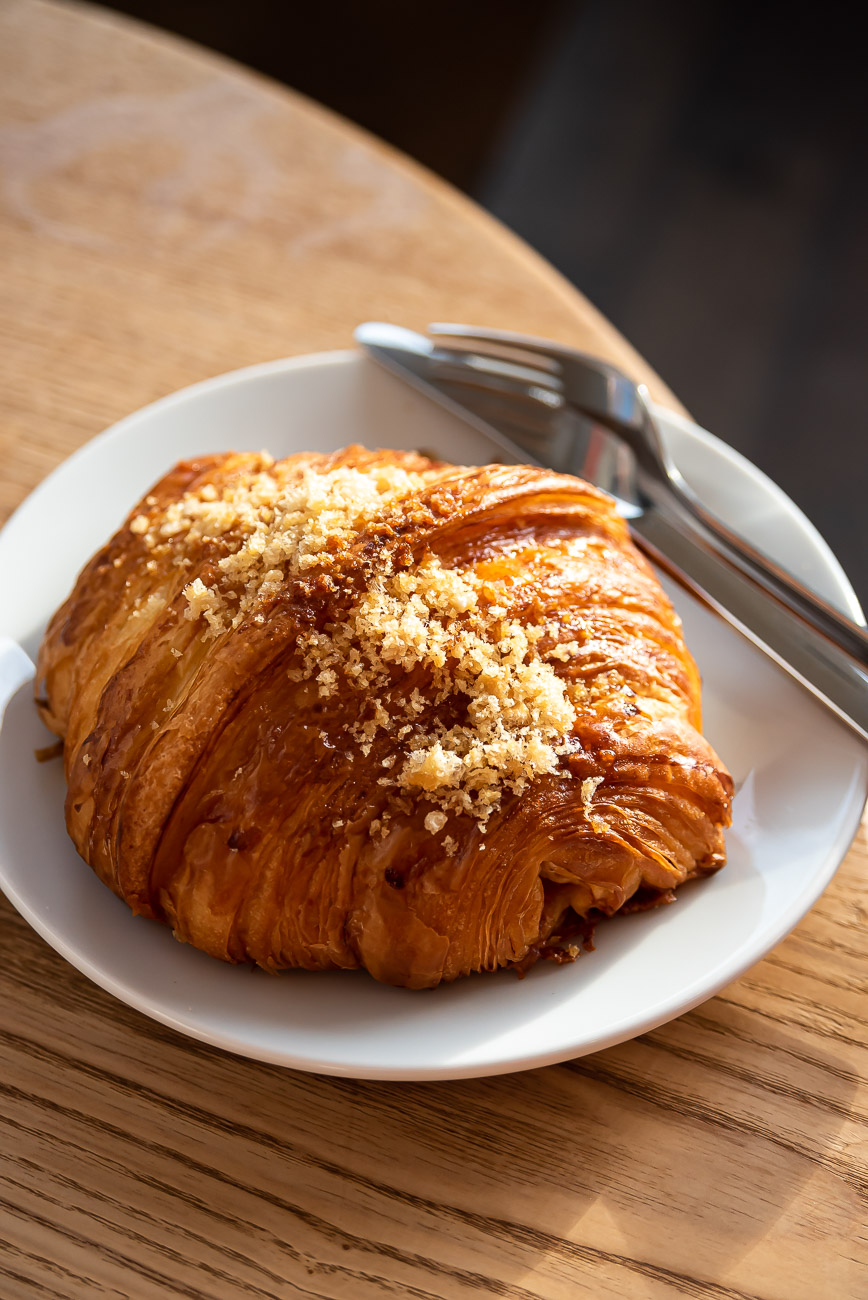
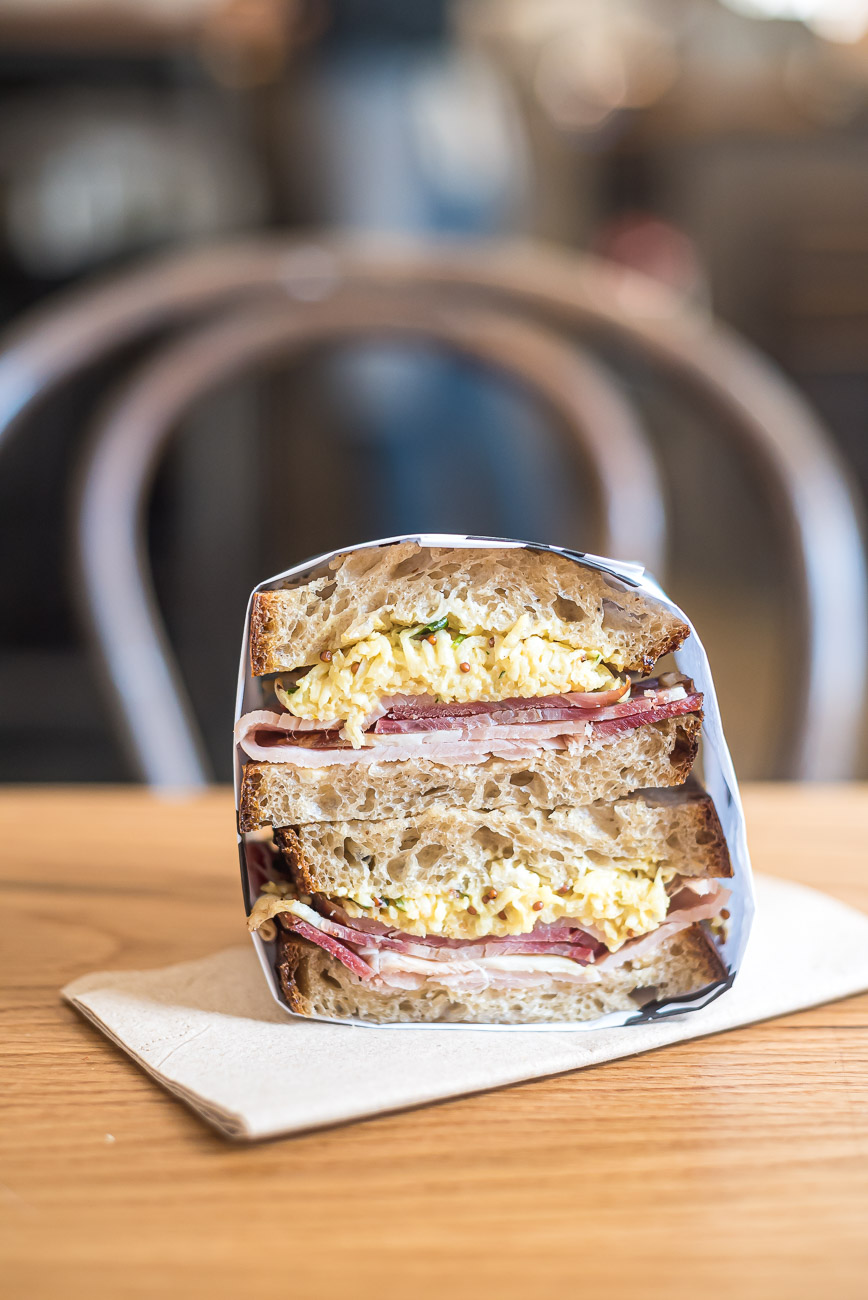
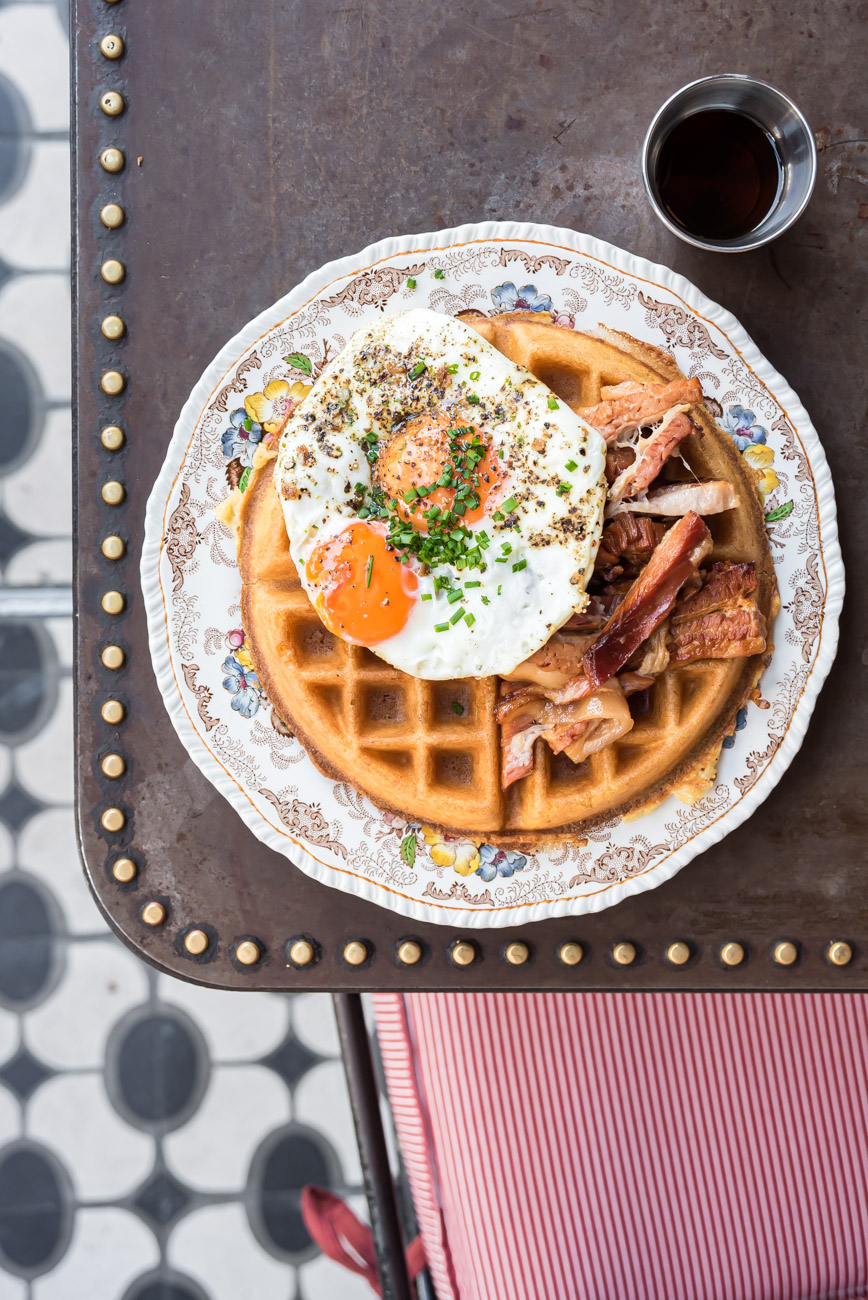
While it might be tempting to only shoot crazy close-ups of your food, they’re not enough to tell a deeper story.
Don’t get me wrong, you should definitely get those shots. They’re very effective in making your viewer hungry!
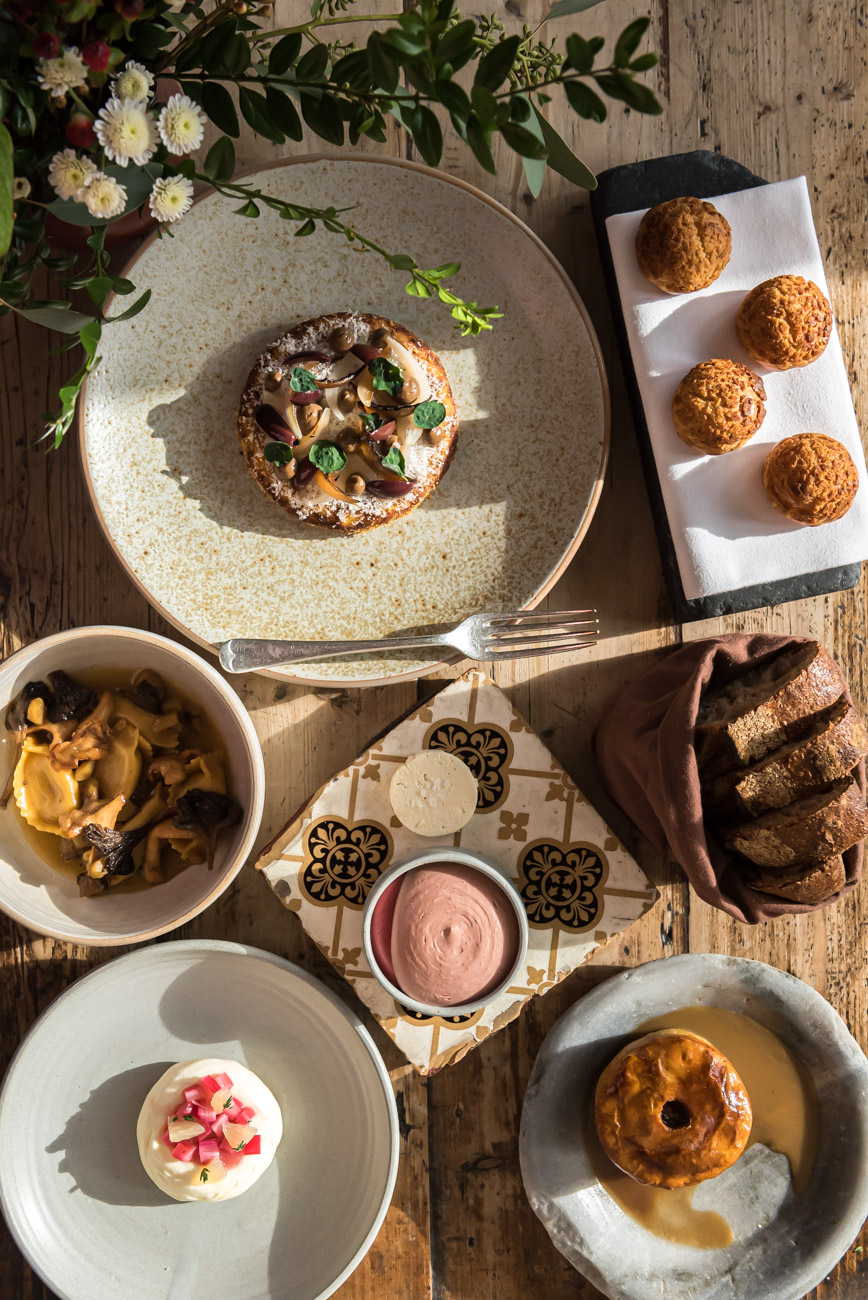
Just make sure to pair them with wider frames that include multiple dishes, abundant spreads with drinks and the lot.
In the downtime between a course and the next, look around the room and spot some nice interior shots, details of the decor, an interesting menu on a table.
All these elements will come together and complete your food story!
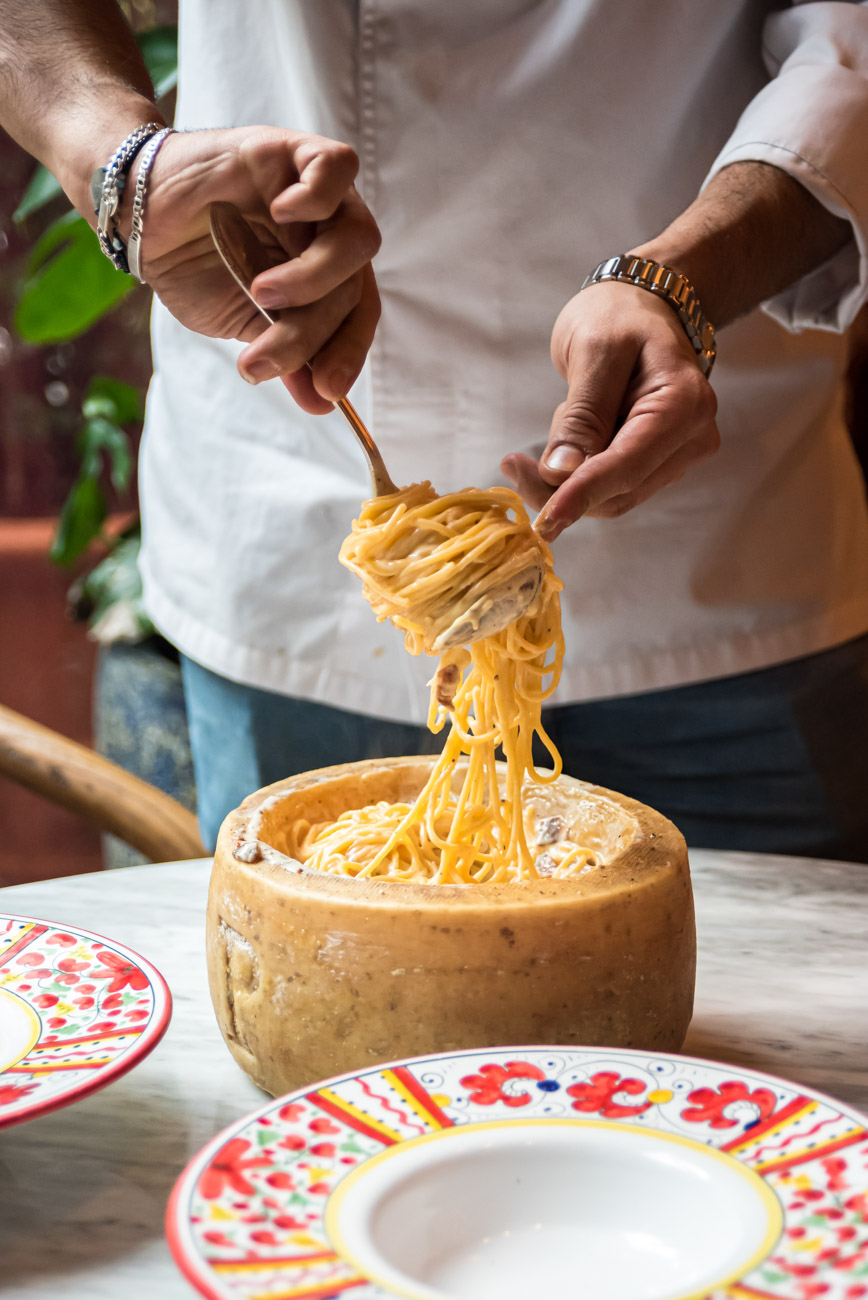
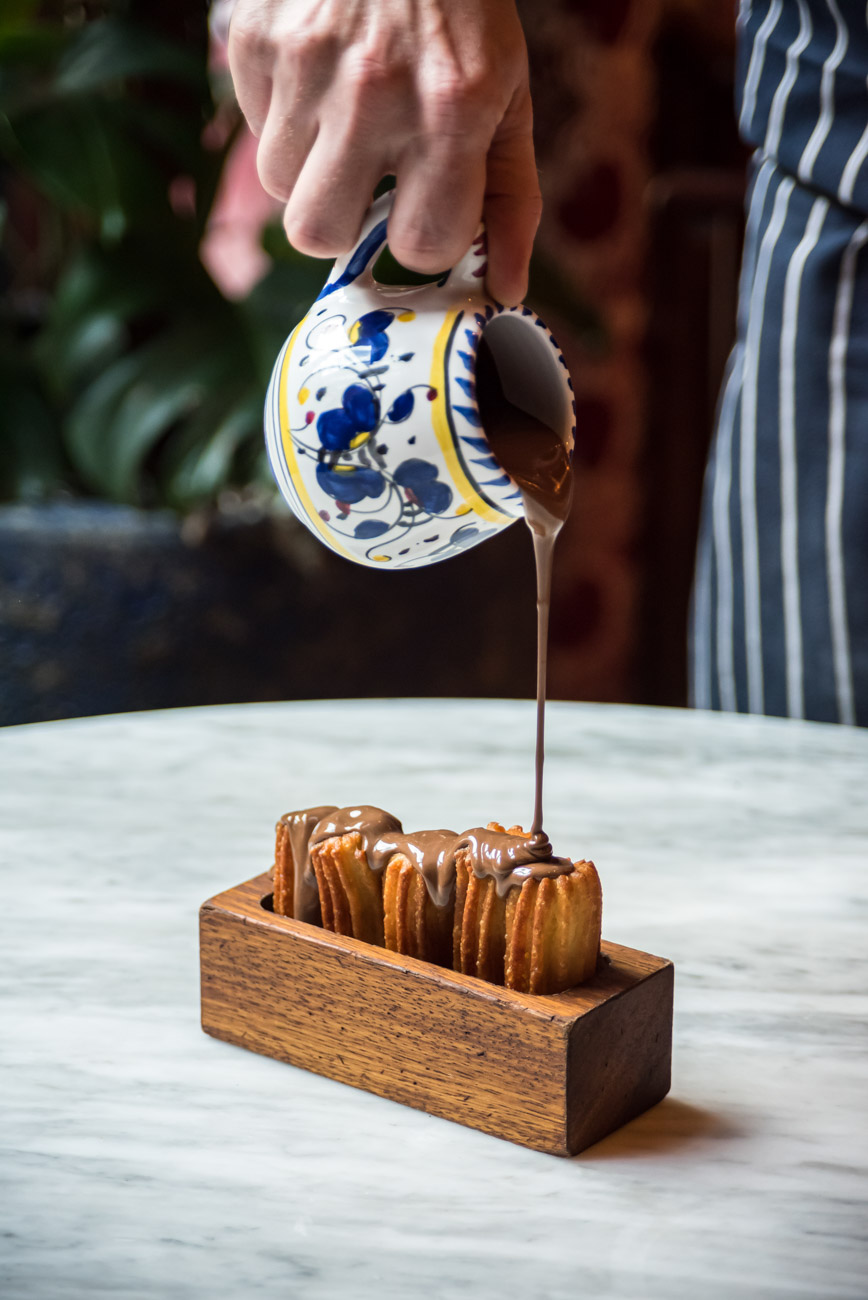
6. Play with your food! Create movement with hands and action.
Having a camera with you is a great opportunity for connecting with people. In this case, your servers!
Are they about to drizzle an outrageous amount of sauce on your dessert? Ask them if you can capture the action!
If they’re too busy or shy to help, no problem!
You can do it yourself with a bit of technique.
Set up the exposure in your camera and have it ready in one hand, grab a fork in the other and go in for that noodle pull!
When capturing action, use a fast shutter speed (increase your ISO if necessary) to make sure you don’t get motion blur.

7. Keep your menu, and ask for a second one.
Usually, when you’re done ordering, servers will take the menu away. Stop them!
And actually, kindly ask them to bring you another one pretty please.
That is a powerful tool in your hands.
Together with white napkins or the drink list, they can help you build a mini studio set up at your table.
Some of the other guests might look at you weirdly, but some images are just worth the curious stares and questions.
The menus can help you in many ways when the light situation is tricky!
8. White balance and mixed light – the menu saves the day.
Often, restaurants have harsh and yellowish spotlights coming straight down your food from the ceiling.
They are so powerful sometimes that you will notice them even if you sit by the window in bright light. Ouch!
These bulbs produce a warm light colour, while the colour of natural light coming from the window is more on the blue side.
When both light sources hit the subject, prepare for a colour clash: they mess up your white balance and cast weird double shadows on your subject!
The magic trick here is to hold your menu above your dish to block the harsh bulb light.
This way, only the nice window light will hit the subject and your colours will be balanced.
Ta-dah!
9. Deal with low light – another menu trick
So, by now you’re holding a menu in the air and trying to shoot with your camera one-handed. Great, you don’t look ridiculous at all!
Jokes aside, I don’t mind looking like a fool if that means I can get the shot I want.
Sometimes even window light is low, maybe it’s almost dinner time.
I have another menu trick for you.
Open it up to a white page and make it stand at the opposite side of your light source.
This way it will act as a reflector, lightening up your shadows and bouncing more light onto your subject!
Rigid fabric napkins and drink lists work for this purpose too sometimes.
And it even worked with my Lonely Planet guide book once. Think out of the box 🙂

10. Editing
Amazing, we got some great shots.
If we were lucky, the window was bright and we didn’t have other light sources on our food.
Easy peasy editing in Lightroom: we’ll play with our curves, give our images a bit of contrast, vibrance, sharpness and done.
However, if we encountered some tricky conditions we have to work harder to create a good finished product.
Adjusting your white balance and doing colour correction is the most important thing here.
We want the colours of our food to look as natural as possible.
Look at something white in your frame and make sure that it is WHITE, not grey, not light blue, not yellowish.
That’s how you know that your colours are balanced.
Also, go ahead and use that magic noise reduction panel in Lightroom.
If you were forced to increase your ISO that might come in handy now!

Wanna practise these tips?
Follow these simple steps to practise photographing food while you travel, in any restaurant!
- Find a nice restaurant and go in early.
Maybe you’ve read about it on a guide, or it was recommended by a local. Or maybe you just stumbled across an amazing one. Go in! - Ask for a table by the window.
Remember, we want to stay away from light bulbs, lamps and yellow/orange lights. - Choose on which side of the table to sit.
Sit with the light on your side or in front of you. Consider your background and choose something that doesn’t distract. - Capture your subject with different angles and frames.
Play with creating a spread, a wider shot that includes elements of the restaurant, and close-ups to capture the texture of the food. All these elements help you tell the full story of the place you visit. - Shoot the process.
Hold a slice of pizza, do a noodle pull or cut your doughnut in half to reveal the filling. Action shots awaken your taste buds! - Eat all the things and enjoy!
Weren’t you here for that in the first place?
Conclusion
Shooting food in a restaurant can be challenging!
There’s a lot to consider and not much time and tools to realise your vision.
Relax, you got this!!
Mainly, remember to enjoy the experience!
Shooting your food is a lot of fun, and eating your subject after capturing beautifully can be even more fun.
Follow these tips and you’ll leave the restaurant not only with a full belly but also with a full soul.
May the Light be with you xx
Loved this article?
Pin it for later!
What are the challenges YOU face when creating food content in restaurants?
Let me know in the comments and ask all the burning questions you have! 🙂
Those menu tricks are such great ideas! I’m not particularly photography-savvy so these tips are going to help me so much. And I honestly never thought to try to “create movement” with my food/drink. But once you mention it, it seems like something I should have thought of before.
I’m so glad the tips helped and gave you a new perspective!
Movement makes the difference between your brain thinking “oh, that’s pretty” and “OMG I wanna eat that NOW!” haha 🙂
Such great images and tips! I love the Menu hack to bounce the light- I’ll have to try that sometime!
So happy you found them useful 🙂
I love this blog post! I agree with all these tips, especially the one about going to the restaurant early and not being hungry. Your pictures are stunning too.
hahaha I learned that the hard way!
It’s hard to stay focused when you’re hungry!
Thanks for the compliments 🙂
These are great tips!
I used to take a lot of photos to add to yelp, but yours are so much better. I love the way you mix close ups in with more establishing shots of the area around your table.
Do your friends ever get mad at you because they are ready to eat while you are snapping away? I love taking foodie photos, but I have learned to be fast so my poor husband can eat his dinner while it’s hot!
Thanks for your lovely comment and for the compliments!
haha they sure do but I warn them beforehand.
Our deal is that they don’t wait for me, it’s a win-win: they eat their food while warm, I do my thing and I am not stressed by pressure 🙂
And yes the best way is learning to be quick which comes with experience!
These are such helpful and practical tips…thank you! I especially love the menu tricks for lighting.
Thank you! That’s one of my favourites.
Makes you look a little crazy in restaurants but it works haha