How to use lines to improve your travel photography composition with leading lines – visual examples and diagrams!
Learn this powerful composition technique to immediately and effortlessly improve your travel photography!
Using leading lines and curves in your composition is one of the easiest and most powerful ways to instantly improve your travel photography!
Lines often make the difference between an amateur holiday snapshot and a great, evocative travel photograph.
And the awesome thing is that, unlike other photography techniques, these tips are equally effective regardless of the gear you’re using!
Start including these tips in your everyday travel photography and immediately notice your improvement!
Another cool thing about this technique is that it doesn’t only apply to landscapes, it can be applied effectively to any kind of travel photography, from street to architecture, to food, to lifestyle.
This gives you plenty of opportunities to experiment creatively!
Let’s see how
- What are leading lines and curves?
- Why are lines important in composition?
- Where to find leading lines in the real world
- How and where to place leading lines for a stronger composition
- 10 types of leading lines with examples
- Practise using lines in your photography
- Conclusion
What are leading lines and curves?
The use of lines and curves is one of the most compelling composition techniques.
They help you guide the eye of the viewer through your image and direct it to your subject.
Basically, they create a trail that is easy and intuitive for the eye to follow when “reading” an image.
They are elements in your scene that naturally lead the audience’s gaze to a specific focus point in the frame.
Obvious examples are roads, railways, rivers…
For a less “in your face” approach, you can use things like shadows, lights trails, implied lines…
Keep reading for a comprehensive list of what you can use as leading lines in your composition!
Why are lines important in composition?
By using lines with awareness and intention, you take your viewer on a visual journey through your image and help them focus their attention on the interest points that you want them to notice along the way.
This is very important in photography storytelling because you want your audience to follow the story as you intended it.
You want them to “read” your narrative from beginning to end, focusing on all the chapters in between.
This will make your image unique, memorable, and your audience will feel connected to it as if they were there.
Lines also create balance, movement and structure in your composition and can change the mood of your photo from strong and static to soft and flowy.
This is powerful stuff.
Where to find lines in the real world
So, what elements in your scene can you use as leading lines?
Anything, everything, everywhere. Really!
You just have to start looking for them with awareness.
The cool thing is that once you start, you won’t be able to stop seeing leading lines!
It’s important to remember that leading lines can be physical objects in your environment, as well as implied lines or subtle suggested lines.
The first type is quite straightforward, these are things you can actually see and are in your space.
They can be natural (rivers, shoreline…) or man-made (roads, fences…).
The implied type is created by our brains when we have enough cues to infer the line, like following someone’s gaze in the direction they’re looking.
Read below for more details on implied lines.
To find these, you have to think out of the box!!
Physical lines
- Roads
- Fences
- Trails and pathways
- Rail tracks
- Bridges
- Rivers and streams
- Shoreline
- Buildings
- Waves
- Stones
- Piers
- Trees
More physical lines
- Bushes and flowers
- Streetlamps
- Walls
- Railings
- Stairs
- Pathways
- Cliffs
- Poles
- Hallways
- Tunnels
- Road lines
- Dunes
Implied and suggested lines
- The direction of the subject’s gaze
- Shadows
- Sun rays
- Sun flare
- Negative space
- Changes in colour
- Light trails
How and where to place leading lines for a stronger composition
Now you know what elements to look for in your scene.
But where do you place these objects and leading lines to create a powerful composition?
And where do you place your subject for maximum impact?
Where you position your lines can make or break the image.
It can either guide your audience into the frame and tell them a beautiful story, or it could distract them and lead them out of your frame.
You need to make sure it’s the former.
When you look at an image, you’re basically subconsciously “reading” the image.
Generally, your eyes read from left to right and from top to bottom.
Or vice versa, if you’re used to reading right to left.
It’s your job as a photographer to tell the viewer exactly where to enter the frame and where to go from there, how to move around and what to focus on while reading your image.
Bear this in mind when placing your lines, what you want is to draw the attention of your audience inwards.
You want their eyes moving in a circle around your image from element to element to finally get to your subject, never leaving the frame.
What you DON’T want is a line that guides your eyes away from the subject and worse yet, out of your image.
Leading lines work well when they follow the diagonals of your image.
If it’s a landscape frame, try starting from the bottom corners moving up and inwards.
In a portrait frame, try having them come out from the top left corner moving down and inwards, toward the bottom right corner.
Place your subject at the start or at the end of the leading line, or put it where your lines converge for maximum impact, to draw the eyes directly to it and give it importance.
10 types of leading lines with examples
There are many types of leading lines and curves that you can use.
Each will give your image a distinctive mood and guide your audience through your journey in a different way.
Paths
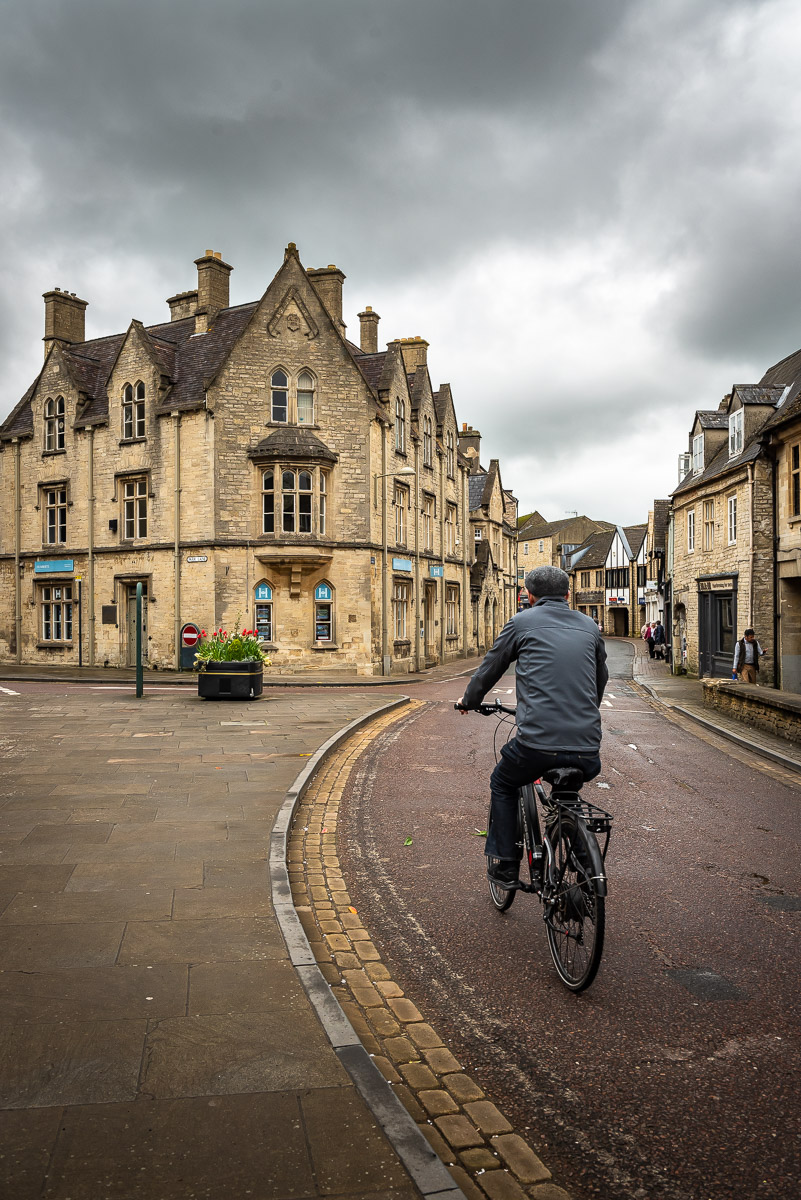
A path normally starts at the bottom corners of your image and ends at the horizon, leading your gaze towards a vanishing point – where it feels like the lines will converge at infinity.
A classical example of this is a road, going towards a landscape on the horizon.
Try a symmetric composition for this frame, with the horizon line on the top line of the thirds grid and the path ending in the centre of the frame.
Vertical lines
Vertical lines such as buildings, trees or lampposts convey a sense of strength, might and height.
When you want to portray your subject as powerful and grand, use this technique.
Try the portrait orientation to better compose vertical lines.
In a portrait frame, the eyes tend to move up and down the image so it will be more intuitive for them to follow lines that move vertically.
However, try also shooting horizontally to break this rule and add impact!
Make sure your vertical lines are properly aligned with the side of your frame and not inclined or distorted.
If you can’t perfectly achieve that while you’re shooting, Lightroom has an amazing tool to adjust perspective and lines!
Just make sure you keep the central line straight and enlarge your frame by using a wider angle lens or stepping back.
This way you’ll allow space for perspective correction in Lightroom.
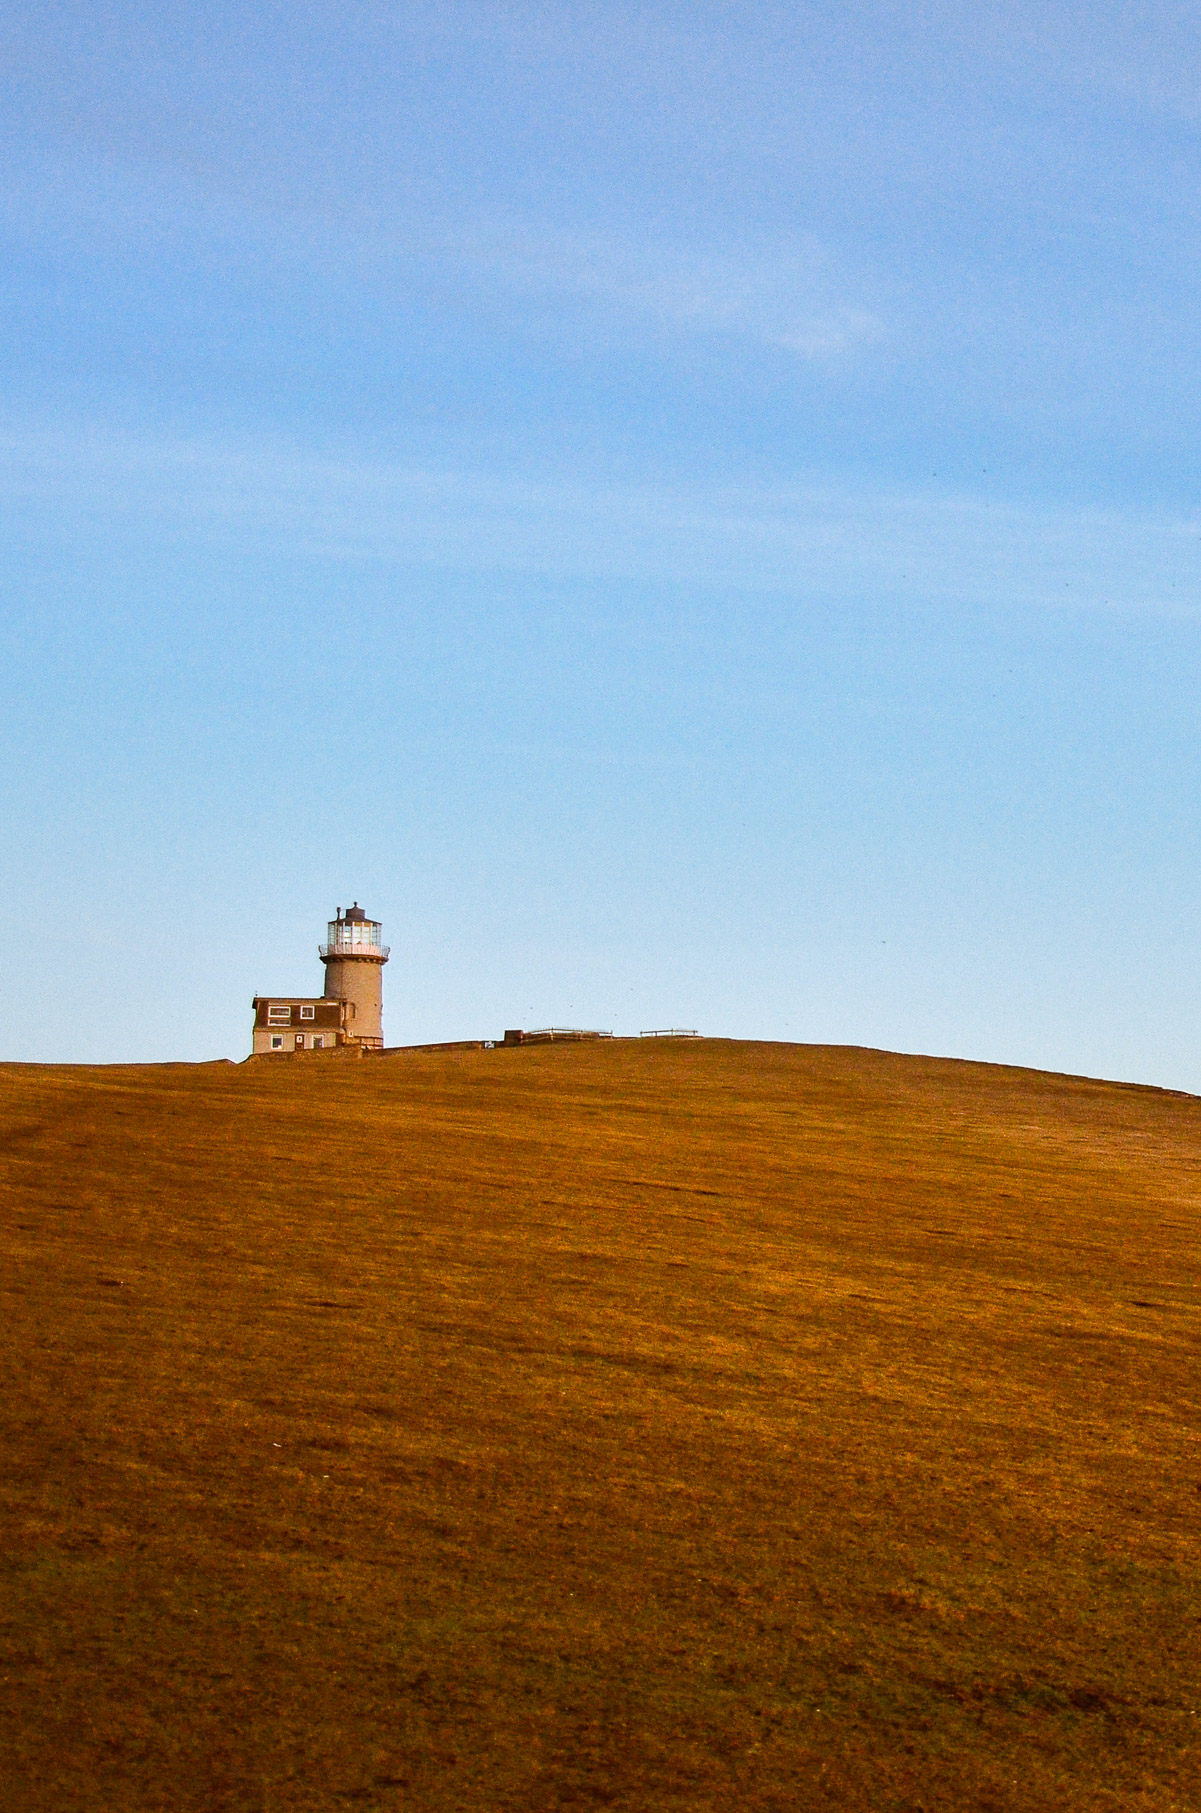
Horizontal lines
The horizon is a typical example of a horizontal line.
These lines tend to give the audience a sense of stability, safety and peacefulness.
They are great for landscapes that want to express stillness and quiet.
They can also convey rigidity, severity and feel quite static so make sure you use them with the right subjects and for the right storytelling.
It’s useful to add a point of interest (like a tree or a building) to break the rigidity and dullness of horizontal lines and add impact to your frame.
Unless you’re going for a specific look and your subject is right, avoid placing your horizon line in the centre of the frame.
If you want to emphasize the foreground or bottom part of the frame, try placing the horizon in the upper third of your frame.
Viceversa, if you have an interesting sky, place the horizon on the lower third of your frame.
The landscape orientation is generally suited to compose horizontal lines.
In a landscape frame, the eyes tend to move from left to right, so it will be more intuitive for them to follow lines that move horizontally.
However, try shooting vertically to break this rule and add impact!
Make sure your lines are properly horizontal and not inclined or distorted as that will create a sense of uneasiness in the viewer.
If you can’t perfectly achieve that while you’re shooting, Lightroom has an amazing tool to adjust perspective and lines!
Diagonal lines
Contrary to vertical and horizontal lines which create a sense of immobility, diagonal leading lines express dynamism, movement and energy.
If you want to add instant motion to an otherwise static composition, including a diagonal leading line is a great way to start.
For maximum impact, place your subject at the beginning or at the end of the line.
To use these effectively, place the line moving down from left to right.
This path is intuitive for the eyes as it follows the same movement that they make when reading text on a page.
Or vice versa, if you read from right to left!
Alternatively, for impact and suspense, start them from the bottom moving upwards.
Implied or suggested lines
As we mentioned earlier, implied or suggested leading lines might not be tangible, physical objects in your environment.
They are “invisible” lines that our brain creates by connecting elements in the frame.
Like with a series of dashes like this – – – – – – – – –
Your mind can patch them together and describe them as a single line, rather than individual dashes.
By placing elements strategically, for example, you can imply a leading line. Drop visual hints in the frame so your audience’s mind will complete the line and follow it.
You can use people’s gazes, light rays, shadows, light trails…
If you see the implied line, your audience will subconsciously see it too!
Obvious vs subtle
Your leading lines don’t have to be so “in your face”.
When the elements are real but subtle, our brain can patch lines together even from small hints.
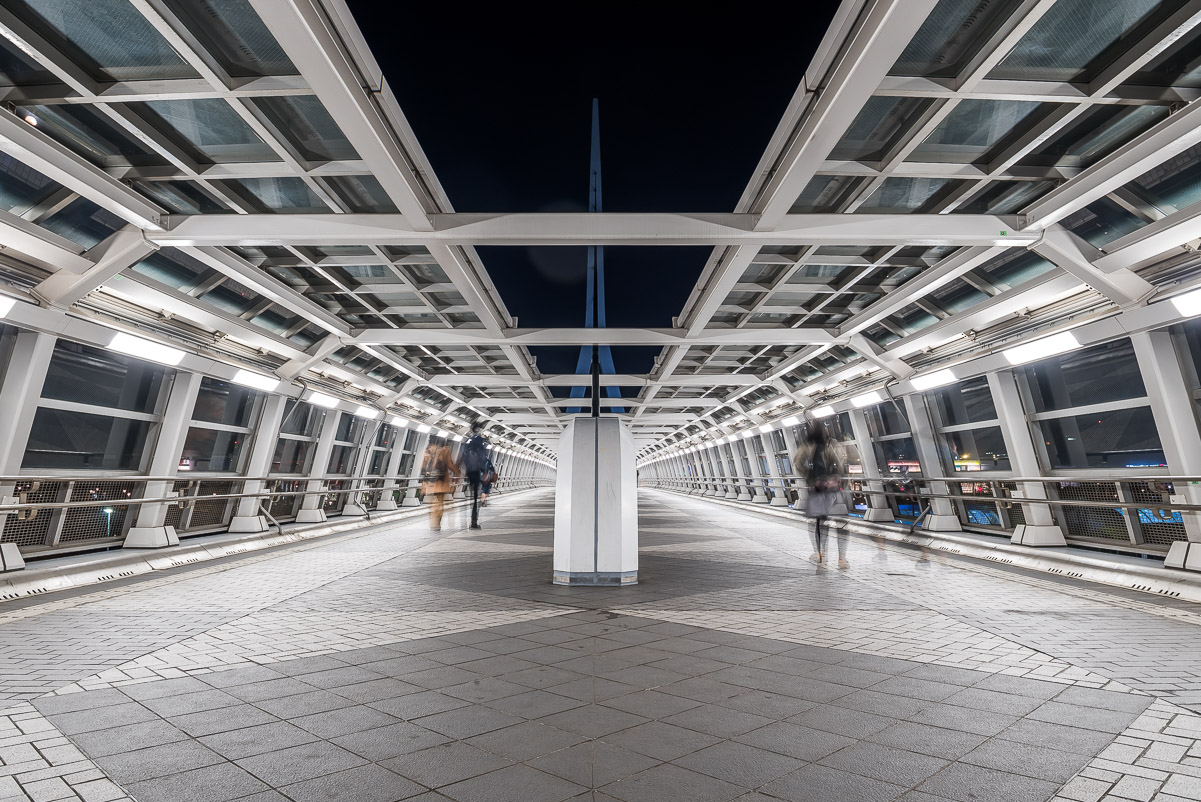
Converging lines
This type of leading lines is a very powerful way to highlight your subject.
Two lines converge when they move closer to each other, leading to the same point and it looks like they will ultimately touch.
When two or more lines converge in one point, your eyes are immediately and effortlessly drawn to that point so that’s where you should place your subject.
These lines feel very dynamic and they also add depth and perspective to your image, making it more three dimensional.
You can try and combine converging lines with other rules of composition (like the rule of thirds) to decide in which part of the frame you want them to converge.
Having them lead to the centre of the frame makes for a symmetrical and powerful composition.
Decentering them can be as effective, while also adding movement.
Curves and S shaped lines
Smooth, sexy curves are another great tool to use if you want to both guide the eyes of your viewer through the image and add movement and flow to your composition.
Curves have a mesmerizing effect on your audience, as their eyes move back and forth through the frame and are almost compelled to never leave it.
Circles and half-circles, or C-shaped curves, can help create a frame in your frame as well as serving as leading lines so it can be a very powerful element.
A curved line can guide the eye into a cyclical motion around your composition so you can make sure your audience notices all the elements in your image, reading the full story.
An S-shaped curve will add depth and flow to your composition, helping your viewer move from one side to the other and guiding them to explore the whole composition.
Other types of leading lines
Intersecting lines
These lines can be a double-edged sword. If you’re not cautious, they can be confusing, break the flow or add tension.
If you do it right, they can create interesting patterns and frame your subject in a captivating way.
Colour boundaries
The contrast between colours in your image can create distinctive borders and lines as well.
To emphasize this, try using complementary colours and add a little vibrance and saturation in post-production to make the colours pop even more!
Practise using leading lines in photography
Examine your scene
So, when you’re in your environment and you’re about to take a shot, look around you and see if there’s any element (obvious or subtle) that can act as a leading line.
Ask yourself the most important question
As you’re composing your image, the important question you always have to ask yourself is “where is this line leading my eye?”.
“Is my eye going into the image or moving away from it?”
Move around!
If the answer doesn’t satisfy you, try changing perspective, go higher or lower.
Move around the fence to see if you can get your line to point at your subject.
Moving even one step from your original position can completely change your perspective!
Consider the mood of the shot
Another thing you should ask yourself is if the line you’re including is complimenting the story of your image.
The type of line you use affects the overall mood of your image.
Would static vertical lines work for your flowy and tranquil woodland scene?
Are intersecting lines confusing or compelling in that shot of a market?
Could using another type of leading line improve the mood and storytelling?
Don’t stop at landscapes
You can use leading lines in every kind of travel photography, even when it’s not obvious.
And they’re especially effective when it’s not obvious!!
Landscape, street and architecture photography are the most immediate to come to mind.
Why not try this technique with your food shots, product shots and portraits?
It will give you an edge over other photographers and make your shots really unique.
Conclusion
Using leading lines is a powerful technique to immediately improve your composition in every type of travel photography.
It greatly enhances the quality of your images and can set you apart from other snappers.
With this guide, you’ll be able to train your eye to easily spot leading lines everywhere.
You won’t be able to stop seeing them, which is a good thing!!
It means you will be able to effectively compose your shots almost on autopilot, freeing up your creativity CPU for other things.
Ultimately, it means you’re becoming a better photographer, high five!!
May the Light be with you xx

Loved this article?
Pin it for later!
Do you have questions?
I bet you do – there’s a lot to process here!
No worries, I’m here for you 🙂
Leave a comment and I’ll clear all your doubts!


