
Aperture, ISO and shutter speed:
nail the key camera settings for food and travel photography!
Master the light threesome and capture light like a pro
I know this is a scary concept, and one of the most confusing for beginners.
BUT. It is also the basics to photography itself!
Fear not, because we’re gonna explore it together.
Today we’re gonna understand the three camera settings for food and travel photography and how they affect our images!
All these settings work together in a relationship and must be balanced for you to achieve the exposure you want.
If you change one, you’ll need to adjust at least another one accordingly.
Mastering this threesome is key to capturing light in a way that works for the story you envision.
Let’s dig in!
- What is Exposure?
- What is aperture?
- What is shutter speed?
- What is ISO?
- What are the best camera settings?
So, let’s start by understanding these concepts and master them with the exercises!
First off, what is exposure?
The exposure measures the amount of light that enters your lens, passes through the shutter and finally hits the sensor of your camera.
Based on how you adjust these different settings, you allow more or less light to impress your sensor.
You are the one in control of this, and you can use it creatively!!
Strictly speaking, there is a right and wrong exposure. Boring, but true.
If an image has at least one white pixel in the highlights and one black pixel in the shadows, then its exposure is technically correct.
Meaning, it needs to have a nice balance between light and dark areas, where you can see details in both your highlights and shadows.
However, not always this suits the story or the mood you want to reflect in your image!
To achieve your vision, sometimes you will want to overexpose or underexpose your images:
Overexposure is when too much light reaches your sensor.
The highlights are really bright with burned details, and there are no dark shadows.
You have white pixels but you don’t have black ones.
Underexposure is when too little light reaches your sensor.
The highlights are dull and grey and the shadows are so dark that you lose details.
There are black pixels but not white ones.
What is aperture?
The aperture is how wide the opening (or diaphragm, if we feel fancy) in your lens is.
As you might imagine, the bigger the hole the more light passes through and vice-versa.
In your camera, you’ll find it written as f followed by a number ( f 2.8, f 5.6, f 11 etc)
The higher the number after f, the closer your aperture, the less light enters the camera.
The lower the f number, the wider your aperture, the more light passes through.
Pretty straightforward so far, isn’t it?
Just get the grasp that a low number means more light and vice-versa, so you’ll know how to adjust your aperture setting.
Ok then, why wouldn’t we always use a wider aperture to get all the light?
Because aperture affects another aspect in an image.
And here’s where your creativity comes into play and the fun starts!
How does the aperture control the depth of field and bokeh?
The depth of field is the sharp portion of an image and affects the blurriness of your background.
The area outside our depth of field is known as bokeh. A soft and pleasing bokeh helps guide our eye to the part of the image in focus.
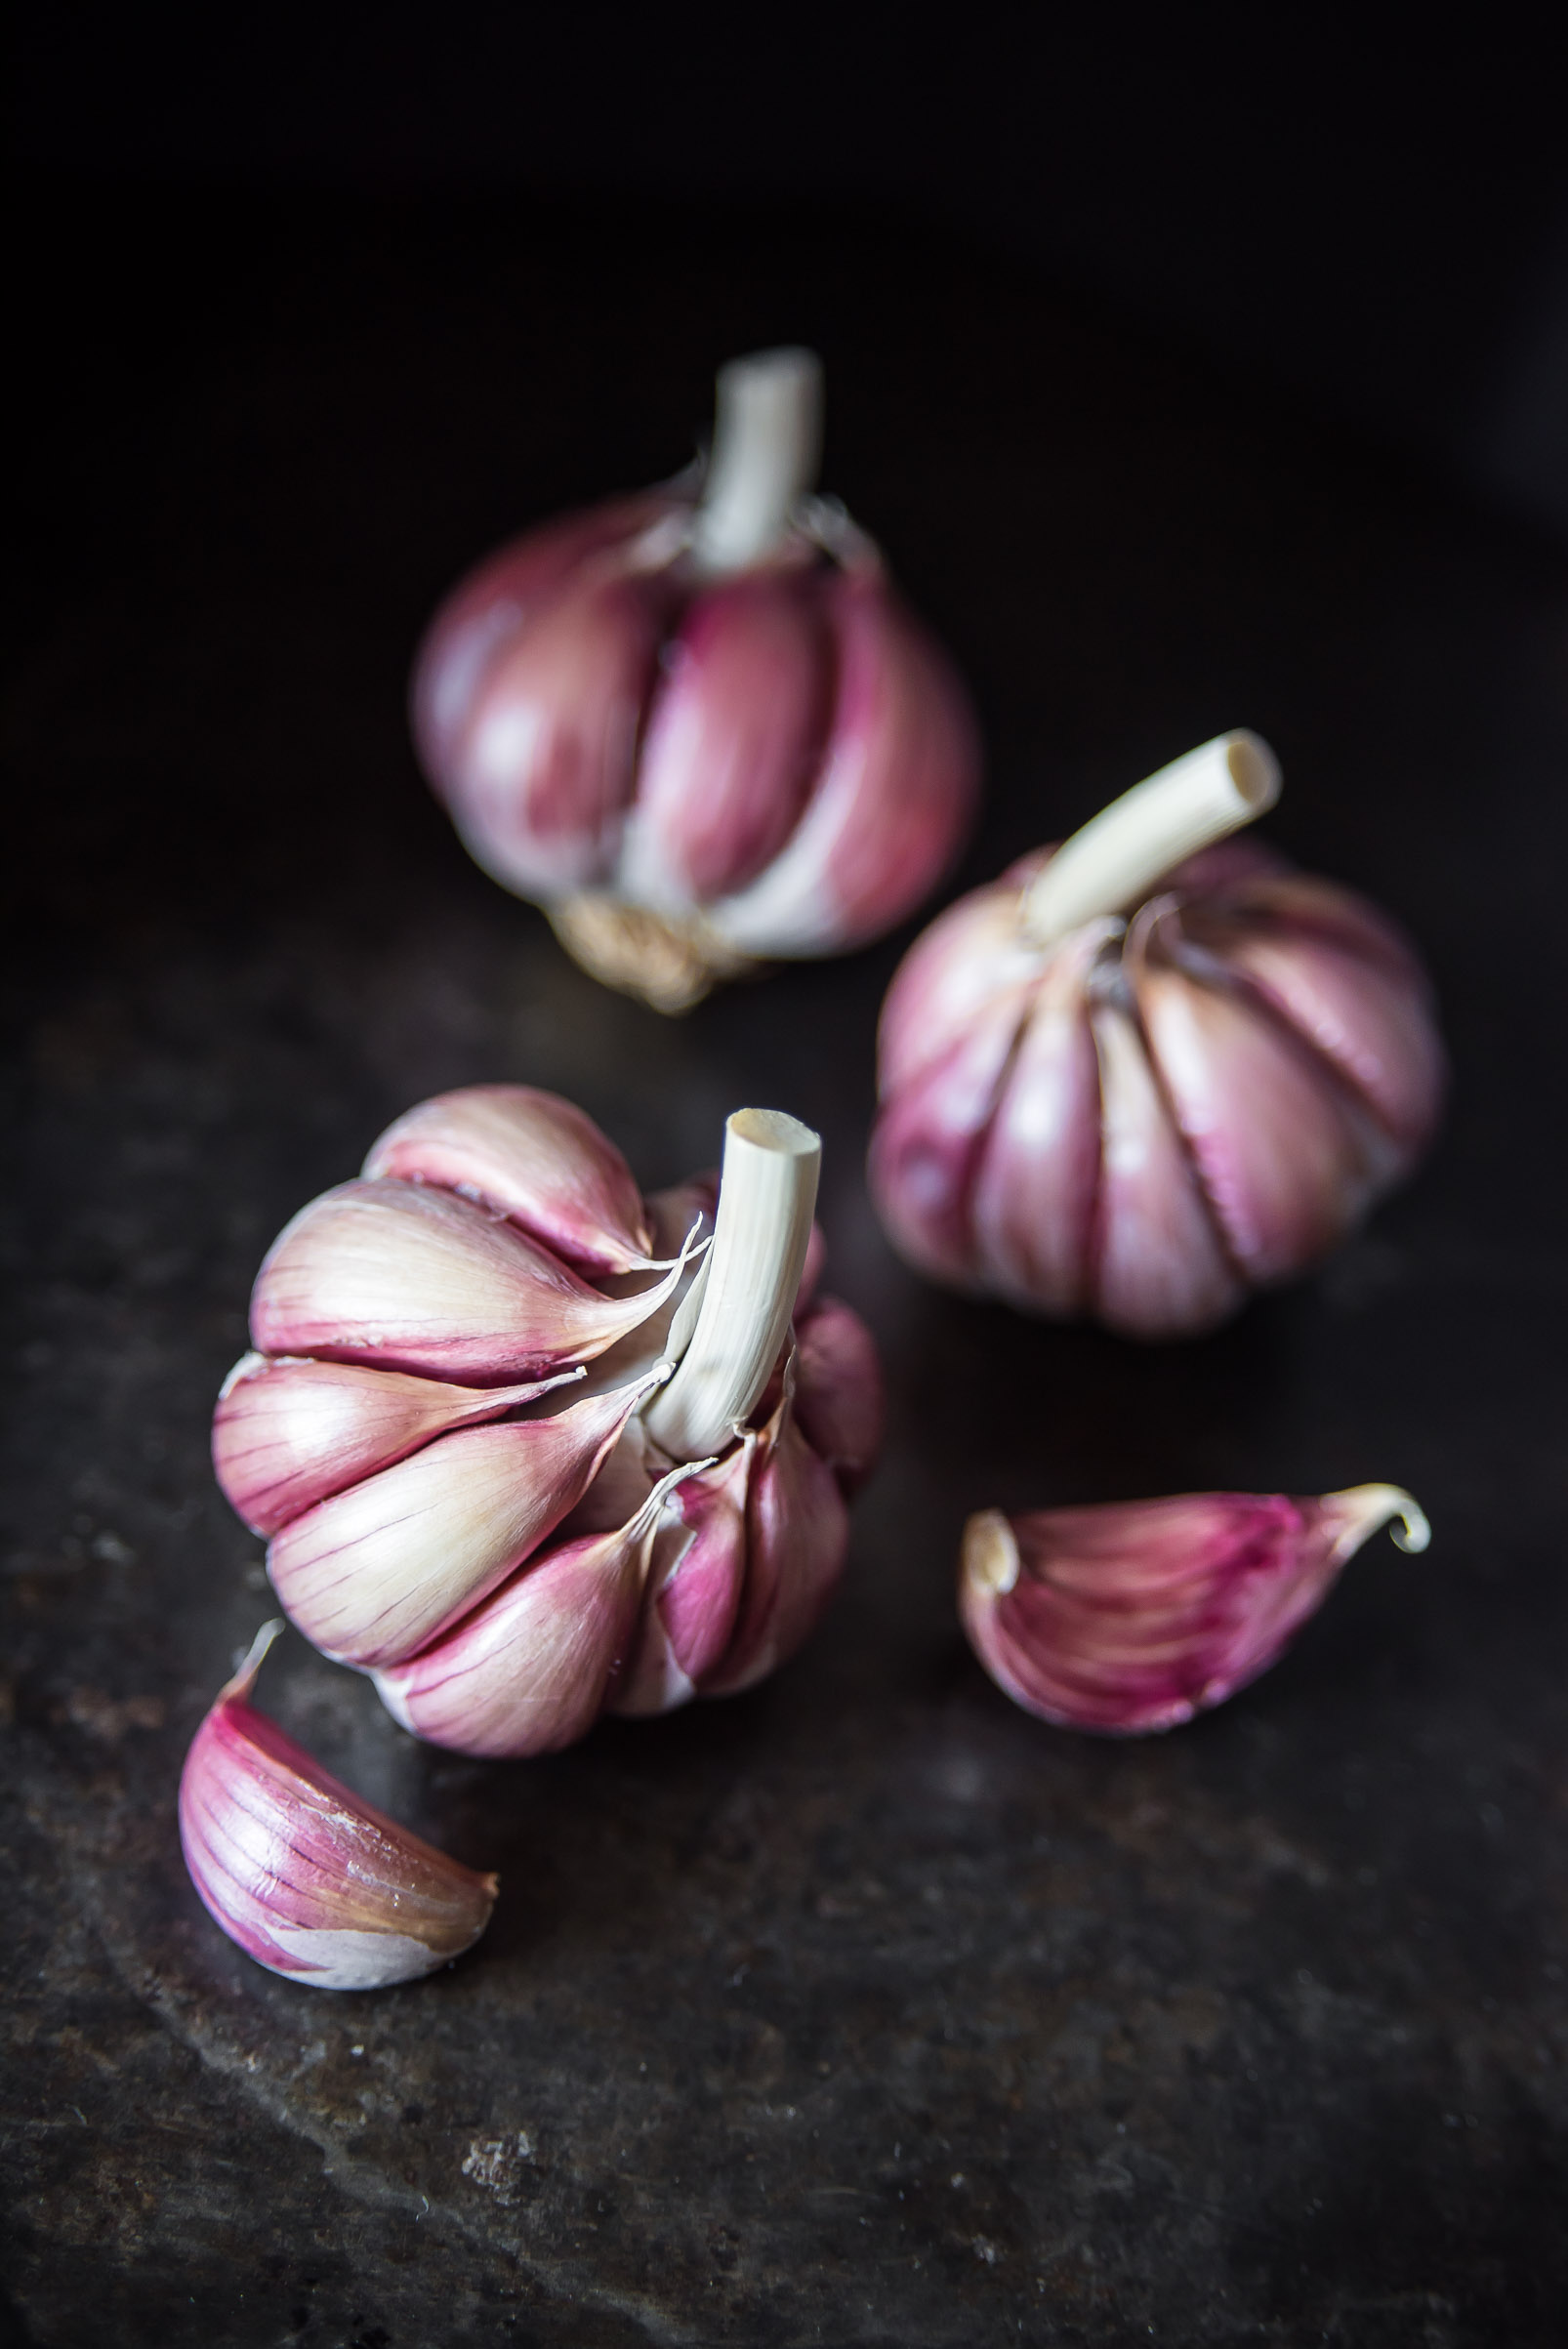
A large aperture (low f number), gives you a shallower depth of field.
Less of your image is in focus which results in blurry backgrounds.
This is useful if you want to isolate your subject and make it stand out. Think portraits or close-ups of details.
A small aperture (high f number), gives you a greater depth of field.
A bigger part of your image is in focus and the background is sharper too.
Think landscapes, where you want your whole scene to be crisp.
Practise aperture with a simple exercise!
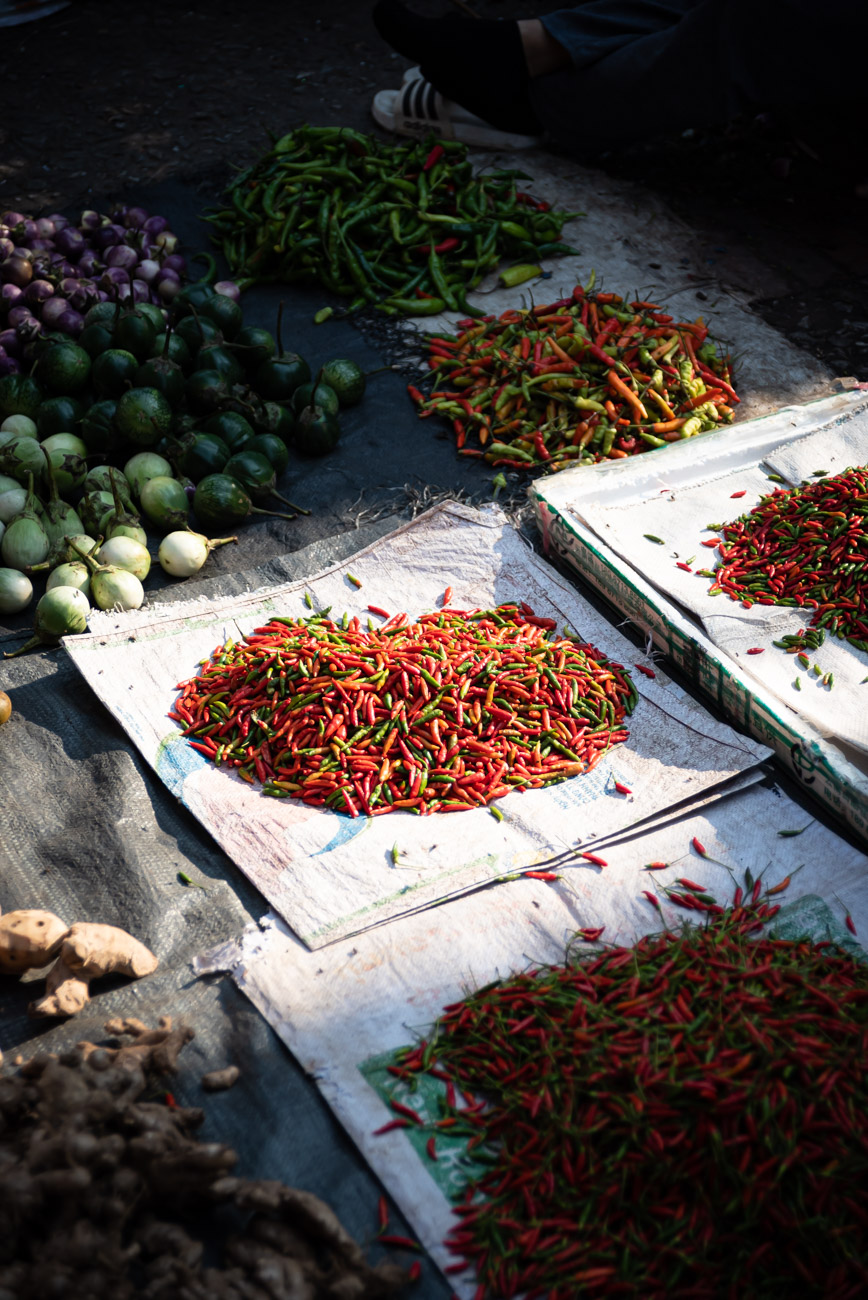
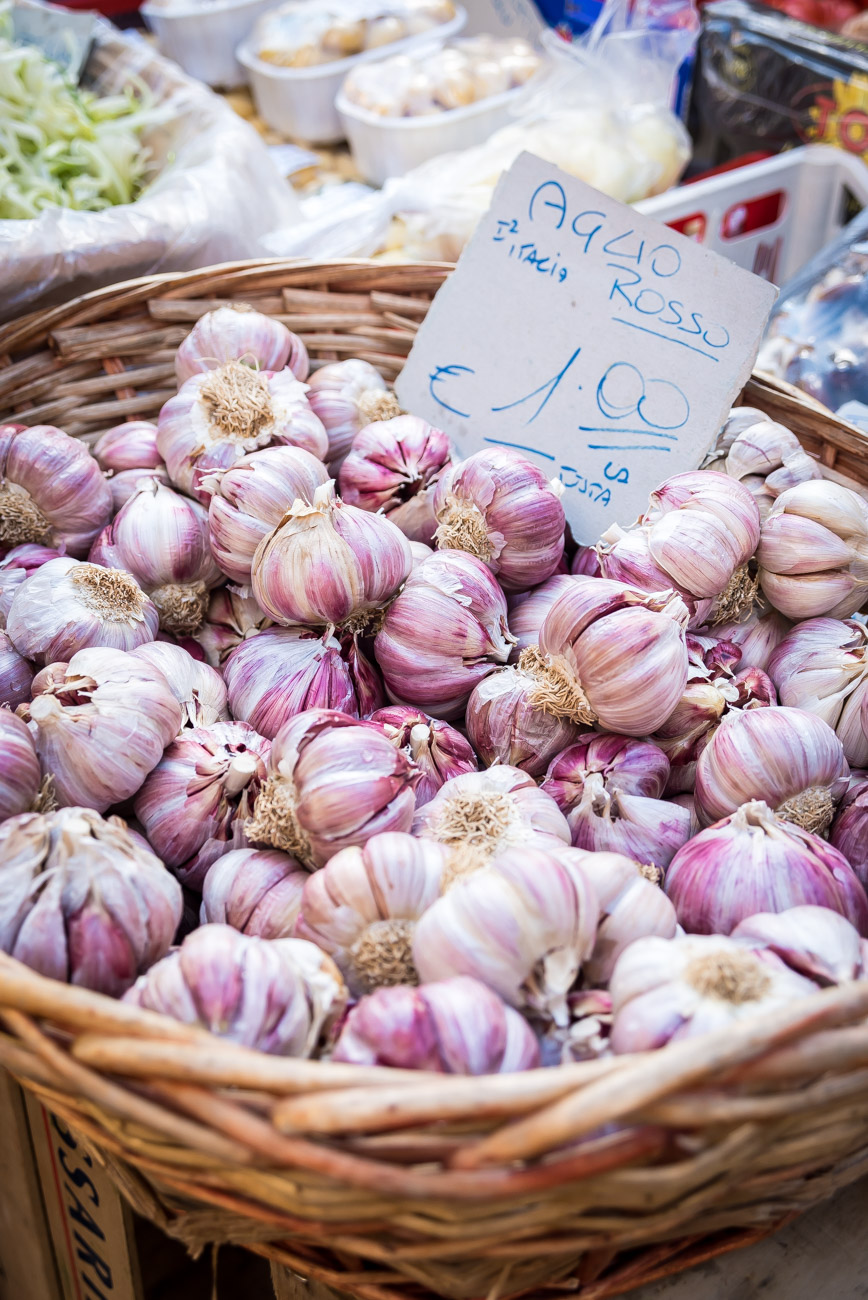
– Go to a place where there is good daylight, and both interesting details and wider scenes: think a garden or an outdoor market.
– Set your camera to aperture priority (A or Av mode): you control the aperture and the camera automatically adjusts the ISO and shutter speed to achieve the correct exposure.
– Experiment first with a wide aperture: see those details pop and stand out against your blurred background.
– Now test closer apertures and catch the sharpness in every detail of your landscape.
– Notice what aperture gives you a pleasing bokeh and how your story changes based on how you adjust this setting.
Patterns will start forming in your head over time so keep experimenting!
– Have fun and experiment!!

What is the shutter speed?
Well, it measures the speed of the shutter. Thanks, captain obvious.
The shutter is a gate that blocks light from hitting the sensor. When you press the release button, it opens to let the light through.
The longer it stays open, the more light can reach your sensor.
It is measured in seconds or fractions of seconds and it can be reeeally fast. Like Road Runner fast.
You’ll find it written as whole numbers or fractions ( 30 sec, 1 sec, 1/125 sec, 1/8000 sec etc.)
The larger the fraction, the slower the shutter speed, the hole remains open for longer, the more light gets in.
The smaller the fraction, the faster the shutter speed, the hole closes more quickly, the less light in.
Following me so far? Took me a while to grasp this concept of fraction because I suck at maths hehe.
The speed of your shutter regulates another fun thing that happens in your images.
It controls motion blur: it can freeze motion, or emphasise motion.
And you can use that creatively to add meaning to your story!
How does the shutter speed control how motion is captured?
When you take a photo, you move, your camera moves, and some subjects move too.
If your shutter moves faster than all of these, you can freeze the action.
Contrarily, il the shutter is slower than either of these, something will come out blurry.
You’ll experience either camera blur or subject blur.
A fast shutter speed (1/high number ) will halt that particular instant in time.
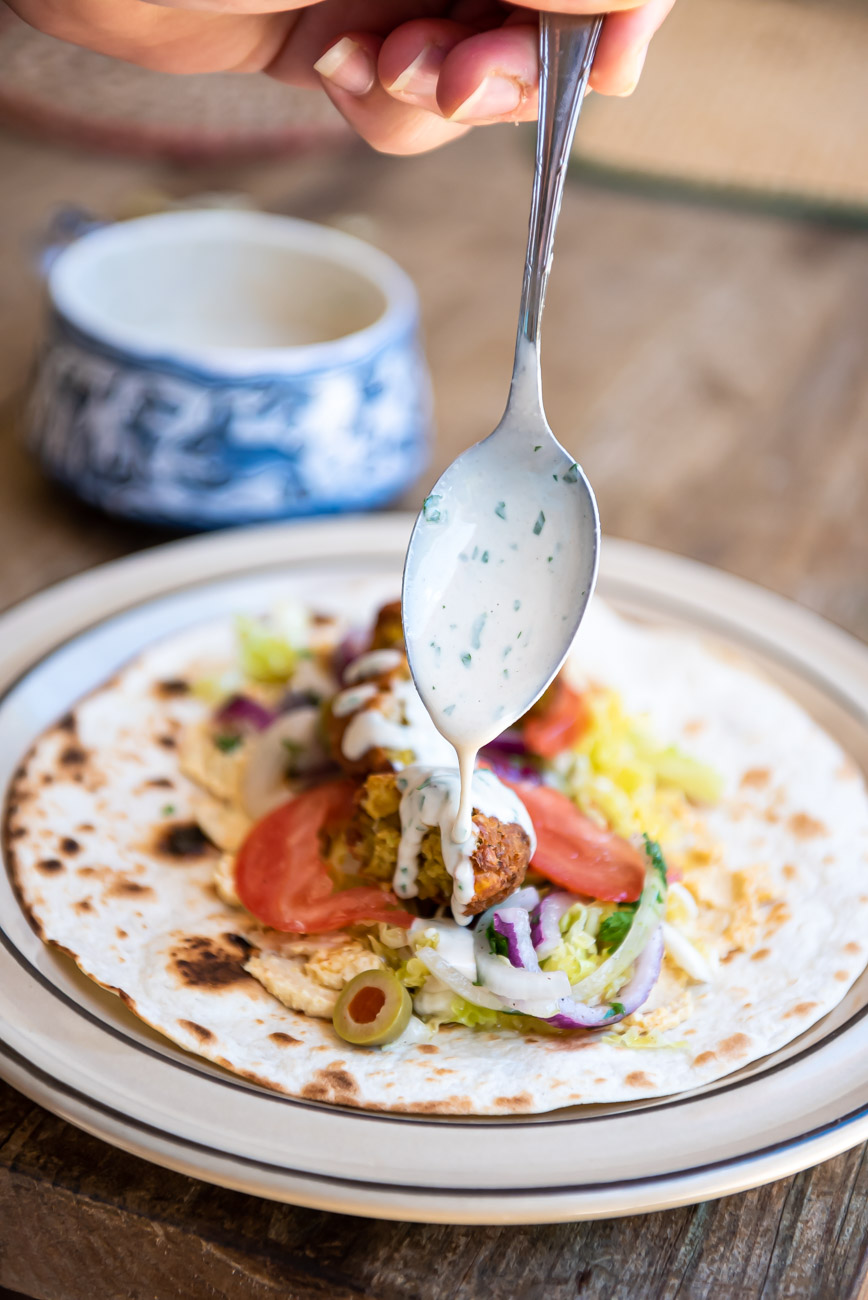
Think the chef pouring sauce on your food at the table.
You want to freeze the action right there to capture every drop from that glorious pour.
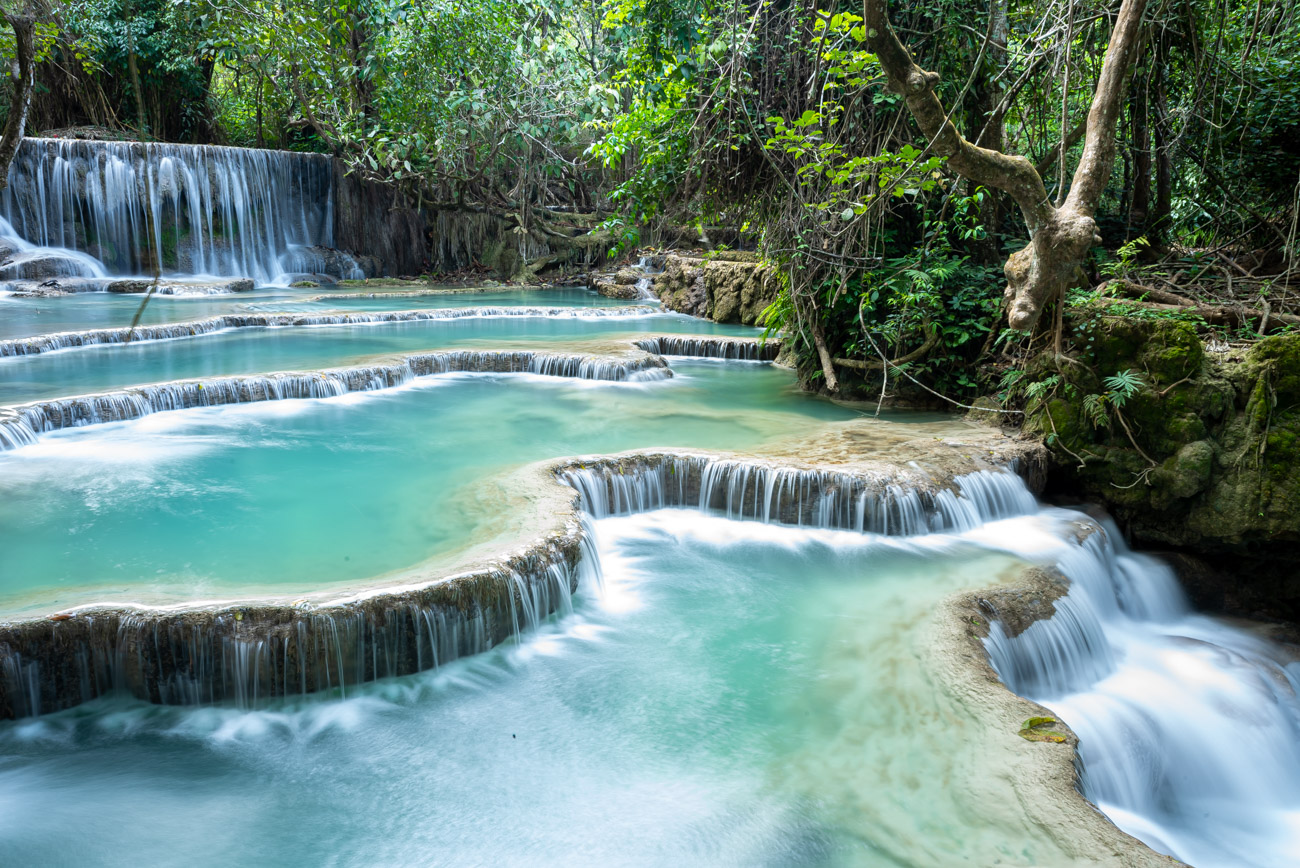
A slow shutter speed (1/low number, or whole numbers) will allow the sensor to record the movement in elements of the frame.
For some of these shots, you’ll need a tripod to avoid camera blur and only capture subject blur.
Your camera needs to be still in order to register the movement in your subject!
Think silky waterfalls and cool car lights trails at night.
The golden rule to avoid camera shake when shooting handheld
What is the safest shutter speed to avoid motion blur?
The answer is (literally) in front of you.
Look at your lens and see what focal length you are shooting with.
The number of your focal length will determine the minimum shutter speed you should be using.
Use a shutter speed of at least 1/focal length rounded up.
If you’re shooting with a wide-angle lens, like an 18mm, shoot at least at 1/20 sec and faster.
If you’re using a telephoto lens, like a 200mm, shoot at least at 1/250 sec and faster.
The longer your zoom, the more you emphasise camera blur, that’s why you need a faster shutter speed.
Motion blur depends on many factors, including the camera and lens you’re using, your posture, your subject and circumstances.
Treat this as a helpful general rule to guide your first experiments!
Practise shutter speed with a simple exercise!
– Go to a place where there’s lots of action happening: think a sports field or town square.
– Set your camera to shutter priority (S or Tv mode): you control the shutter speed and the camera automatically adjusts the ISO and aperture to achieve the correct exposure.
– Experiment first with faster shutter speeds, freeze the movement of people walking, pigeons flying, players running.
– Now place your camera on support: wall, bench, fence. Make sure it’s still.
– Experiment with slow shutter speeds and watch people turn into ghosts or the water of the fountain transform into silk.
– Observe at what shutter speed you’re able to freeze or caption the motion of your subjects.
Patterns will start forming in your head over time so keep practising!
– Have fun and experiment!!
What is ISO?
ISO numbers tell you how receptive your sensor is to light.
A higher ISO number will allow your sensor to capture more light, giving you the possibility to shoot in low light conditions.
Nerdy speaking, every pixel in your sensor captures information about the light that reaches it and sends it to your camera.
Increasing your ISO basically amplifies the digital signal that your pixels transmit.
Now, ideally, you always want to shoot at the lowest possible ISO and when there’s plenty of daylight, this is rarely a problem.
However, when shooting in tricky low light conditions, and maybe without a tripod, you’ll have to probably crank up those ISO.
Even if you’re shooting wide open, meaning at the maximum aperture your lens allows, and at the slowest possible shutter speed to avoid blurriness, sometimes the light is still not enough.
Think on the streets at night or in a dark restaurant.
How does ISO affects the grain and noise in your images?
Using high ISO has a cost, unfortunately.
The more your signal is boosted, the more digital noise or grain you’ll have.
The higher the ISO number, the more light you can capture, the more the digital noise.
The lower the ISO number, the less light you can capture, the less the digital noise.
Luckily, technology advancements come to save the day!
Nowadays, even entry-level cameras (or phones!!) can perform well in dim light, and a few adjustments in Lightroom can also make noise smoother.
In case of necessity, it’s a great help but you shouldn’t rely on this, get it right in camera!
My camera is a beast, I love how well she can perform in low light conditions.
I can confidently push her to high-ish ISO and she won’t budge, it took me lots of experiments to learn her limits.
Not everyone has a super fancy camera! I know, I know.
Learn how YOUR equipment performs so you know how far you can push your ISO and still get away with the smallest possible noise.
Practise ISO with a simple exercise!
– Go somewhere where there is dim light: think a museum, or at home!
– Place your camera on support: bench, table, wall. Make sure it’s still.
– Put your camera to program (P mode): you set your ISO and the camera adjusts aperture and shutter speed to achieve the correct exposure.
– Start from your lowest ISO and take the same photo at different ISO settings until you reach your highest value.
– When you’re done, examine the images.
– Zoom in to 100% of their actual size and analyse how the noise increases.
– Take a mental note of the ISO value by which the noise becomes very evident and your image is grainy.
– Learn your camera and its limits!
– Have fun and experiment!!
In conclusion, what are the best camera settings?
The great thing about this question is that there is no right or wrong answer, there’s only YOUR answer.
The optimum settings are those right for you in your circumstances.
By understanding these three key elements, and which one to play with, you’ll be able to realise your creative vision and tell your story.
It takes a bit of practice to master them all, but don’t get discouraged and keep going at it!
When it finally clicks, your creative vision comes to life and the magic starts.
Buona luce xx
Loved this article?
Pin it for later!
Do you still have questions?
I bet you do – there’s a lot to process here!
No worries, I’m here for you 🙂
Leave a comment and I’ll clear all your doubts!
Howdy! This post could not be written any better! Reading this post reminds me of my old room mate!
He always kept talking about this. I will forward this page
to him. Pretty sure he will have a good read. Many thanks for
sharing!